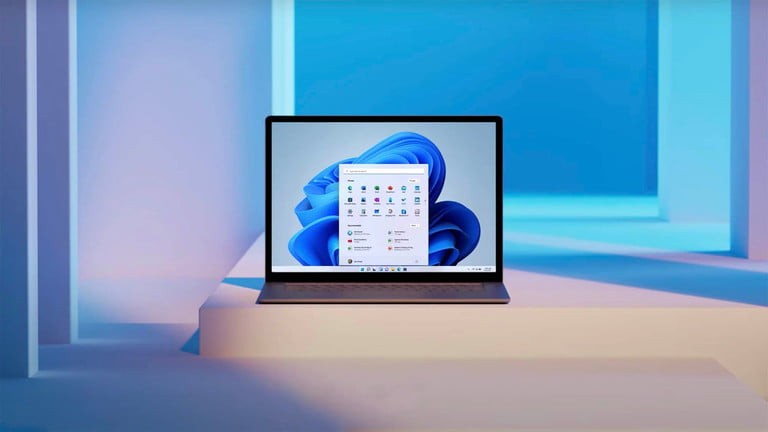
Microsoft’s newly announced Windows 11 operating system comes with several improvements and new features. By default, the Start menu in the Windows 11 OS shows the profile and Power menus in the bottom rail.
Thanks to the customization support in Windows operating system, you can also display quick access to folder locations next to the Power button in this area like in previous versions. You can add or remove access to Settings, File Explorer, Documents, Pictures, Network, and other folders.
In this step-by-step guide, how you can choose the folders that can appear on Start next to the Power button on Windows 11.

Add folders in the Start menu next to the Power button on Windows 11
Step 1: Open the Settings application on your Windows 11 computer.
Step 2: In the Settings app, click on the “Personalization” option.

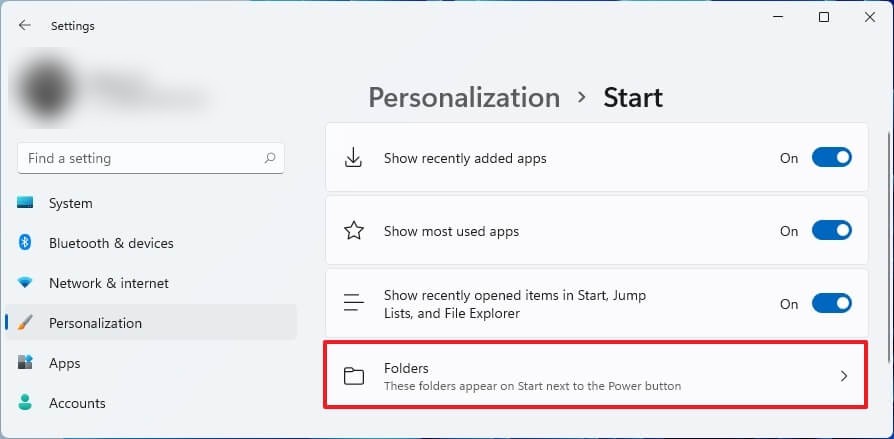
Step 3: Now, click on the “Start” page on the right side and then click on “Folders.”
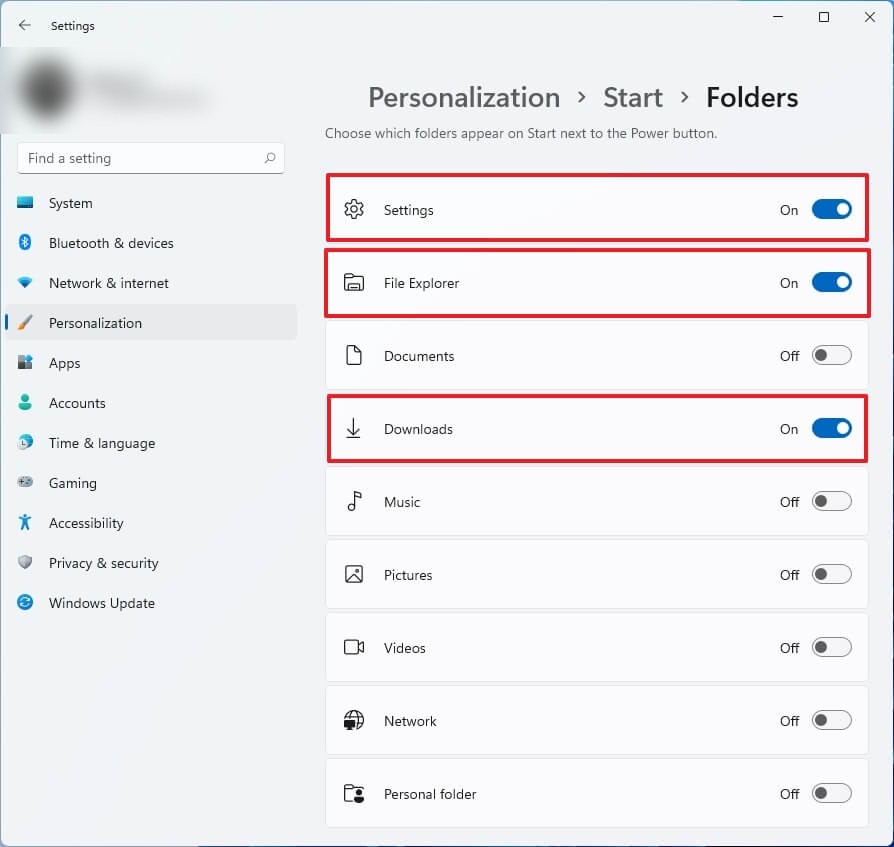
You can turn on the toggle switch for the folders you want to appear next to the Power button on Windows 11. You can enable any of these — Settings, File Explorer, Documents, Downloads, Music, Pictures, Videos, Network, and Personal folder.

That’s it. Once you have completed the above-mentioned steps, open the Start menu, and you will see the buttons for the selected folders next to the Power button.

