Zoom is one of the most popular applications right now and is leading in the category of video calling as most of the business around the world have now adopted Work From Home policy. The good thing about Zoom is that is available across variety of platforms.
In this guide, we’ll show you how you can install and use Zoom from the Chromebook. There are two methods to download Zoom — via Chrome Web Store and via Google Play Store. Since the web store version is better for the Chromebook, we’ll be using that method for this guide.
Installing and using Zoom on your Chromebook
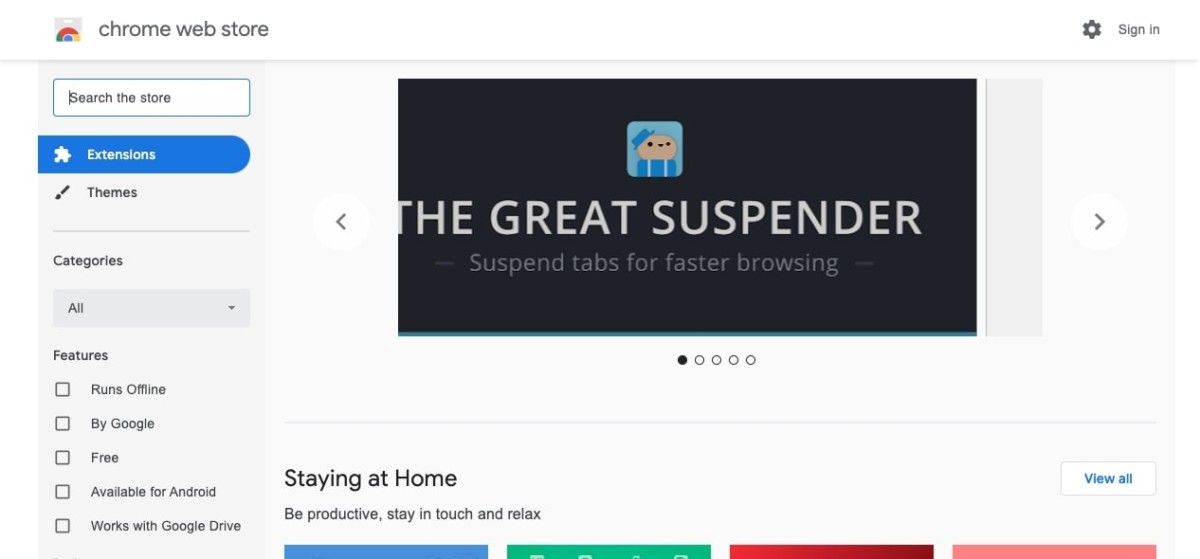
Step 1: Open Chrome on your device and go to the Chrome Web Store by going to this URL – https://chrome.google.com/webstore.
Step 2: Now go to the search section and search for “Zoom”

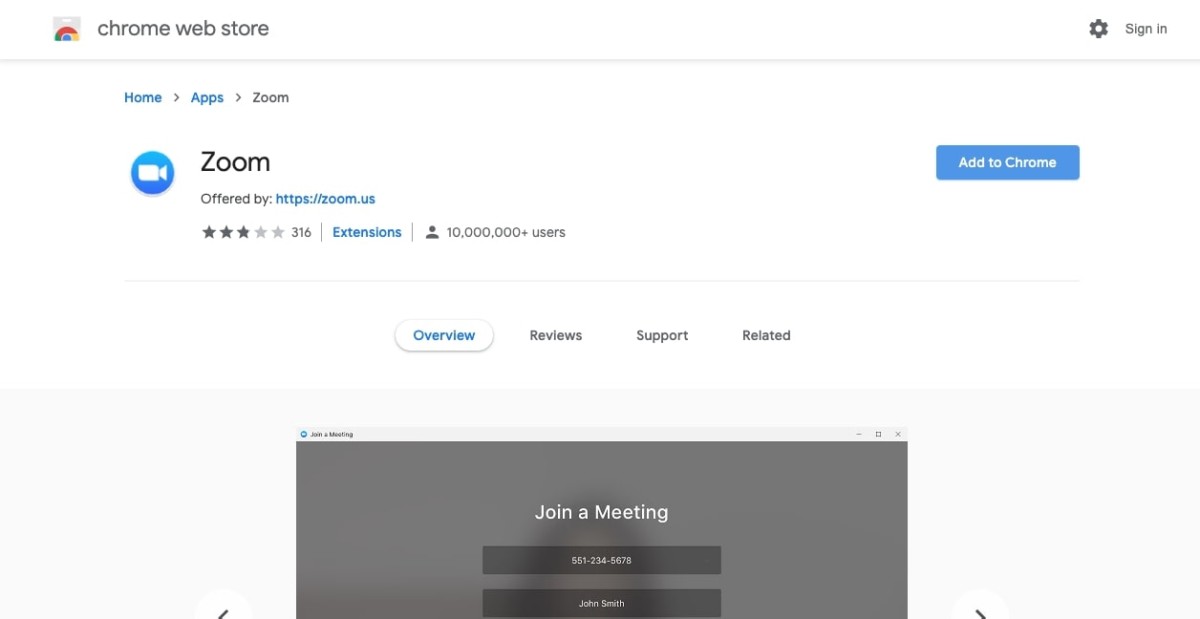
Step 3: Before you download the Zoom app, make sure that it is from Zoom.us and then click on “Add to Chrome”.

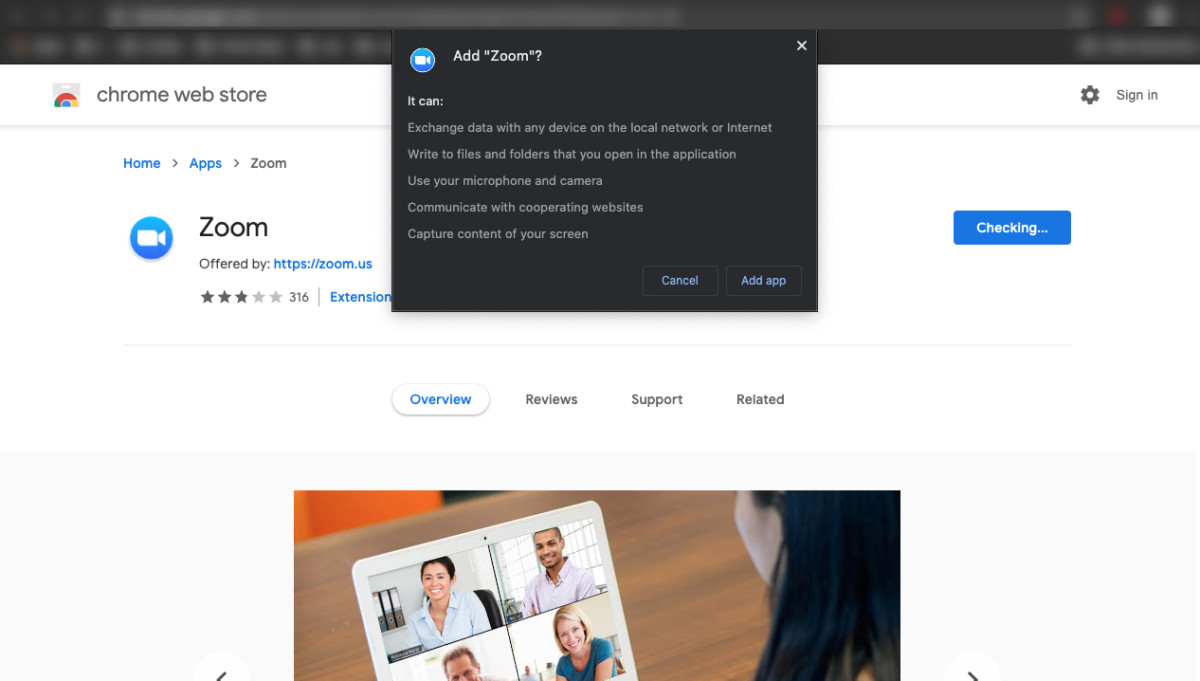
Step 4: Once you click on the Add to Chrome option, a prompt dialog box will appear with permission request. Click on “Add app”.

Step 5: It will start the download and installation process. Once that is done, you’ll see a notification saying that Zoom has been successfully added to your Chromebook.
Step 6: Now when you open the launcher app, there will be a Zoom app. Click on it to open.
You’ll now be able to use Zoom to start a new call or join others. Another method of using Zoom on your Chromebook is to install the application through the Google Play Store.

