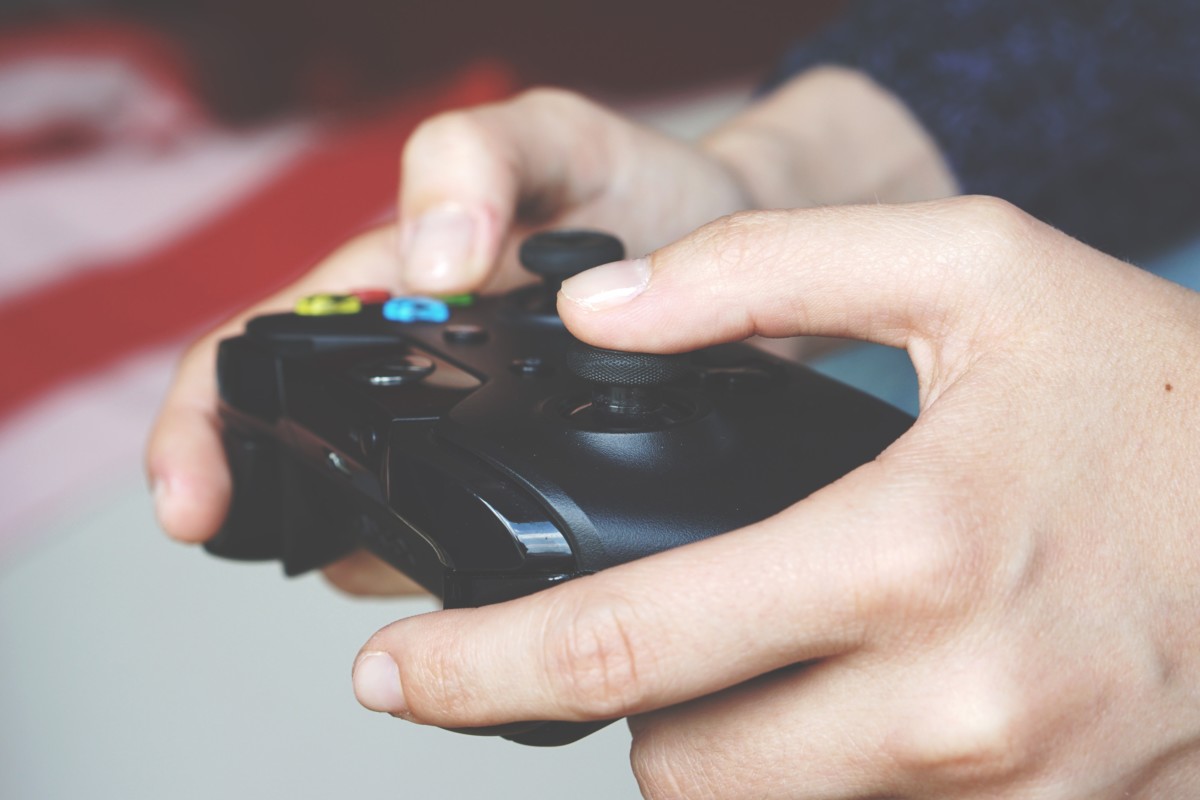
We have already published a couple of guides related to how you can use the controller of gaming consoles with Android or iOS devices. This time, we are showing you how to use them with computers.
In this step-by-step guide, we will showcase how you can use the Xbox One controller with your Windows 10 PC. This is applicable for both — the Xbox One controller and the second-generation Xbox Elite Controller — both of which comes with support for Bluetooth connectivity.
Although the Xbox controller can be easily connected to a Windows computer using the USB cable, it takes up a free USB port on the PC and limits your movements while playing games. So, this guide shows you how to use Bluetooth to connect the Xbox Controller with Windows 10.

How to use Xbox One controller on Windows
Step 1: Open “Settings” on your Windows 10 computer.
Step 2: From the list of options, select “Devices.”
Step 3: Now, make sure that the Bluetooth is ON on your device.
Step 4: On your Xbox One controller, press the larger round “X” button.
Step 5: You will now see the Xbox One controller in the discovered devices, which can now be paired with your computer.
Now, you can install the Xbox Accessories application on your computer, which allows you to customize the buttons and paddles as per your choice if you are using the Xbox Elite Controller.
The app is available in the Windows Store and all you have to do is connect the controller to the computer to get started. You can also create and save two different customized profiles.
You can also check out our other Windows guide to make your experience even better by customizing the operating system as per your needs. We have also covered quite a few guides related to macOS and Chromebook as well.

