The Windows Package Manager is currently in the preview phase but it is available for everyone to try on Windows 10 computer. The number of software that can be installed on the system using Windows Package Manager has been growing.
However, one feature lacking in the program is the ability to uninstall. But, the feature can be enabled through a simple tweak in the Settings. Once it is enabled, the programs can be removed through the wget uninstall command.
In this step-by-step guide, we will show you how to enable the uninstall feature in the Windows Package Manager and then use it to remove apps.
How to Remove programs using Windows Package Manager
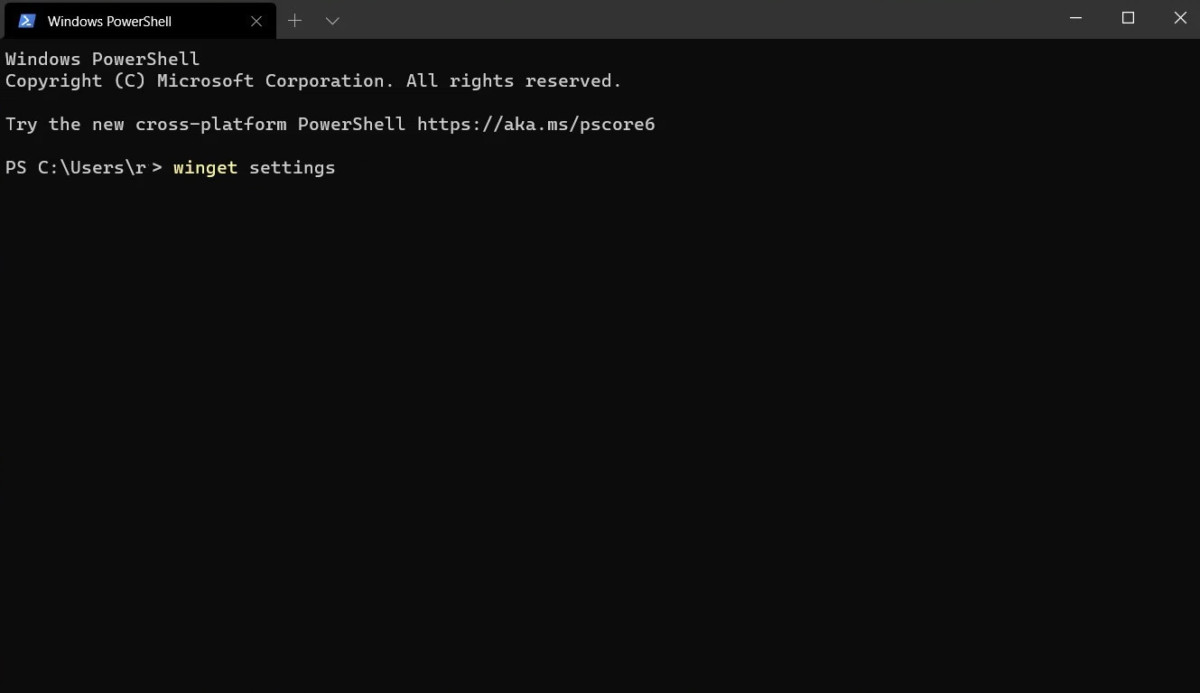
Step 1: First of all, open the PowerShell program on your computer.
Step 2: Now, type “wget settings” and hit the Enter key.

Step 3: You will now see settings.json opening in your default text or code editor.
Step 4: Now, enable the experimental settings to turn on uninstall feature. For this, add the following flag:
 "experimentalFeatures": {
        "uninstall": true
 },
Step 5: Save the file and then reload the PowerShell window.
Step 6: Now, to uninstall a program, just type “wget uninstall <name>”.
If the function you are trying to trigger is supported by the Windows Package Manager, you will receive a message or notification when it starts and finishes.
