All the MacBook models from Apple running the macOS operating system come with support for taking screenshots or recording the screen using keyboard shortcuts. The Screenshot feature on the device provides a panel of tools that lets users easily take screenshots and screen recordings, with options to control what is captured.
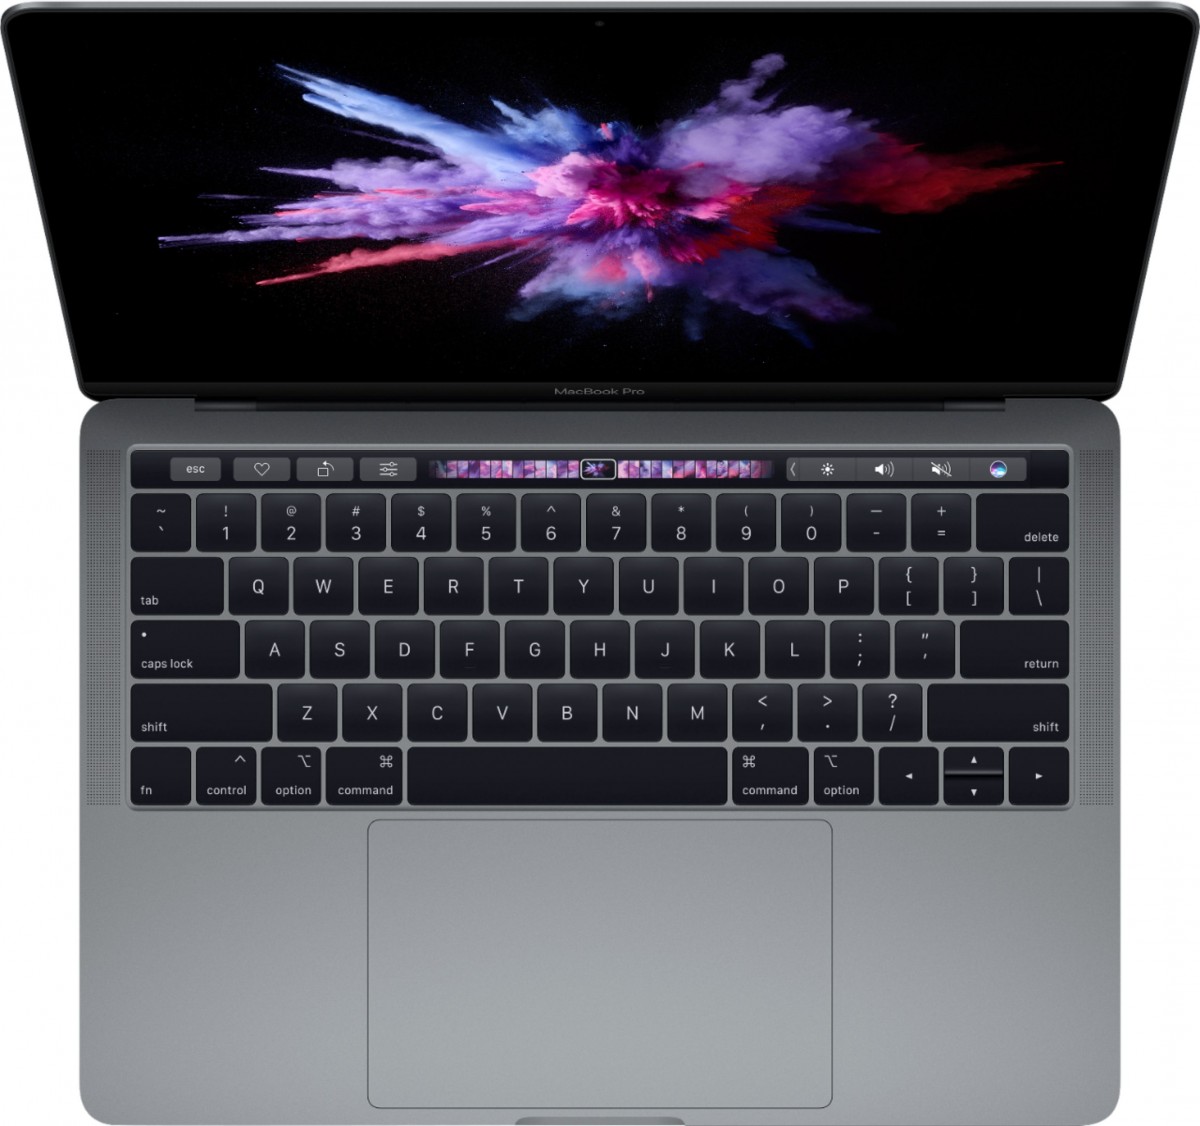
While many users know how to capture the standard screenshot of what’s on the main screen of a MacBook, not many users are aware of the method for capturing the screenshot of the Touch Bar, which runs along the top of the keyboard on some models.
If you are looking for a way to capture the Touch Bar screenshot on your Mac device, then here’s a simple keyboard command that will capture the screenshot and save it on the Desktop.

To take a screenshot of the Touch Bar on your Mac device, press the Shift + Command + 6 keys on the keyboard.
The screenshot captured on the MacBook or Mac device will be saved as a .png file, and the name of the file begins with “Screenshot” followed by the timestamp. The image may look unusually thin and wide as the screen resolution for the touch bar is 2170 x 60 pixels, but you can crop it using the Preview app’s editing tools.
You also get an option to customize the keyboard shortcut in the keyboard settings on your device by going to the Apple menu > System Settings and in there, select the Keyboard option from the left sidebar and then click on the Keyboard Shortcuts on the right side pane and then click the Screenshots option.

