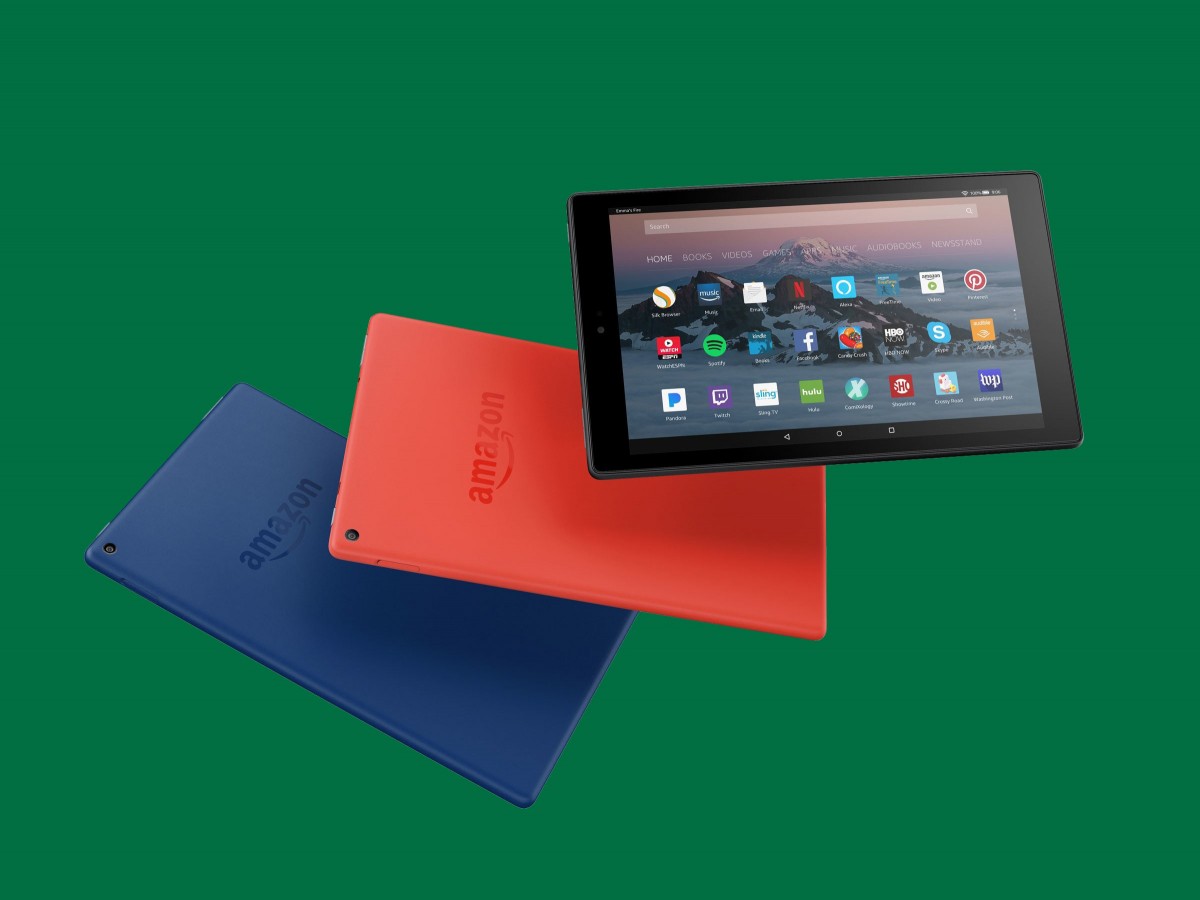
Amazon, the world’s leading e-commerce platform, has launched a number of devices and one of them is tablets. The company has a lineup of budget tablets under its Fire brand, rating from Fire 7, Fire 8, Fire HD 8, and the Fire HD 10. Some of them have upgraded variants aimed at different working scenarios.
The Amazon Fire tablets are running the Fire OS from the company which is based on the Android operating system. So, if you are wondering about how to take a screenshot on the Amazon Fire tablet, then the process is the same as that you use on any other Android device. Nonetheless, here is a step-by-step guide for the same.

How to take a screenshot on Amazon Fire tablet
Step 1: On your Amazon Fire tablet, go to the screen, application, or webpage that you want to take a screenshot of.
Step 2: Now, while being on that screen, press and hold the volume down and power button at the same time.
Step 3: After you press the buttons, you will see an animation on the screen and hear a photo capture sound. This confirms that the screenshot has been saved.
Step 4: You will also see a notification at the top of the screen with options to either Share, Edit, or Delete the screenshot.
That’s it. It is that easy to take a screenshot on your Amazon Fire tablet. All the screenshots taken on the tablet are saved in the Photos application and you can open that app to view all the photos. From there, you will also be able to share, edit, and delete them as and when needed.

