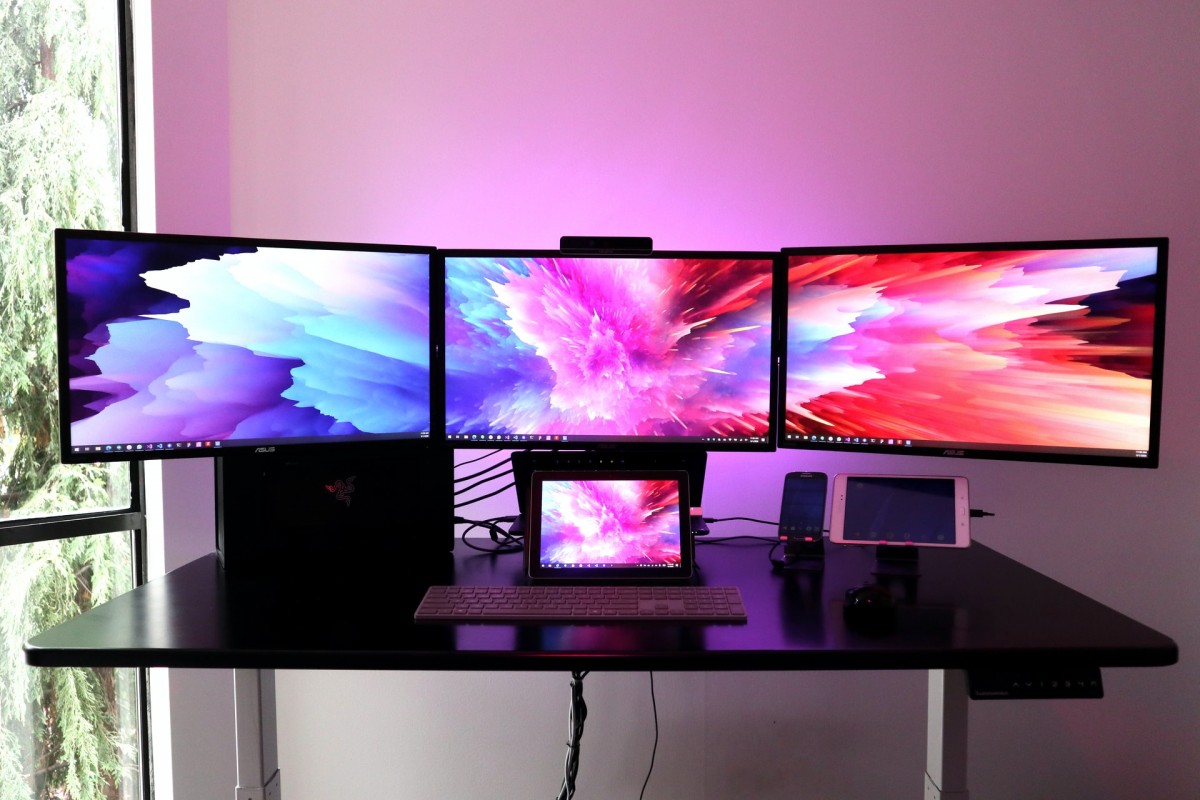
The Windows 11 operating system from Microsoft has the capability to work with multiple displays connected to the computer as long as the GPU can handle it. The Windows OS usually automatically detects a newly connected monitor and you can start using it after plugging it with the device.
While a single monitor connected to the PC is still the norm, there are many use cases where having multiple monitors or displays connected to the computer makes it very helpful for the users to carry out their work. It comes in handy where there’s a need to keep multiple windows open on the system and with a multi-monitor setup, such multitask setup can be done without having to switch between the windows.
If the plug-and-play setup for additional displays isn’t working properly on your Windows 11 computer, then here is a step-by-step guide on you can manually detect other connected displays on the computer and adjust its settings.

How to connect additional monitors in Windows 11
Step 1: Open the Settings application on your Windows 11 computer.
Step 2: In the Settings app, select the “System” option from the left-side pane.
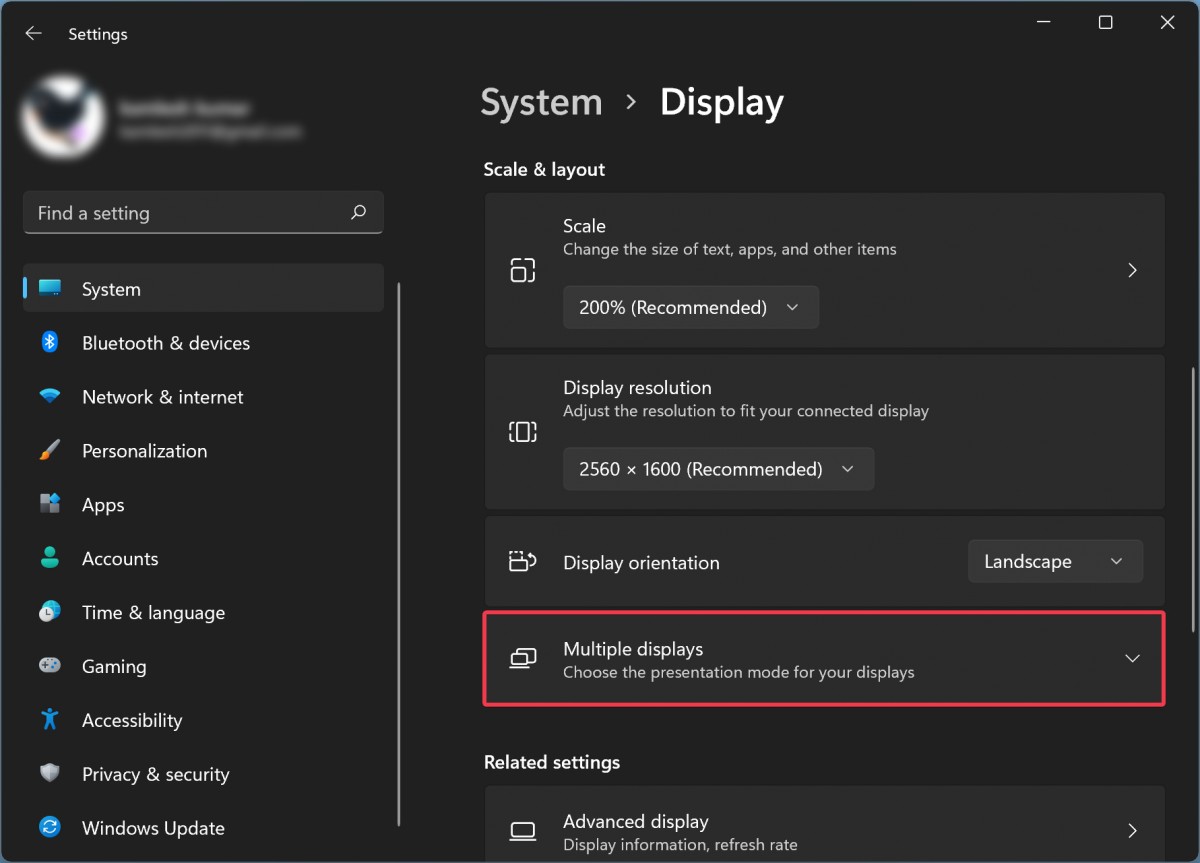
Step 3: Under the System Settings, select the “Display” tab on the right-side pane.

Step 4: On the Display settings page, the PC should have automatically detected connected monitors and shown the desktop.

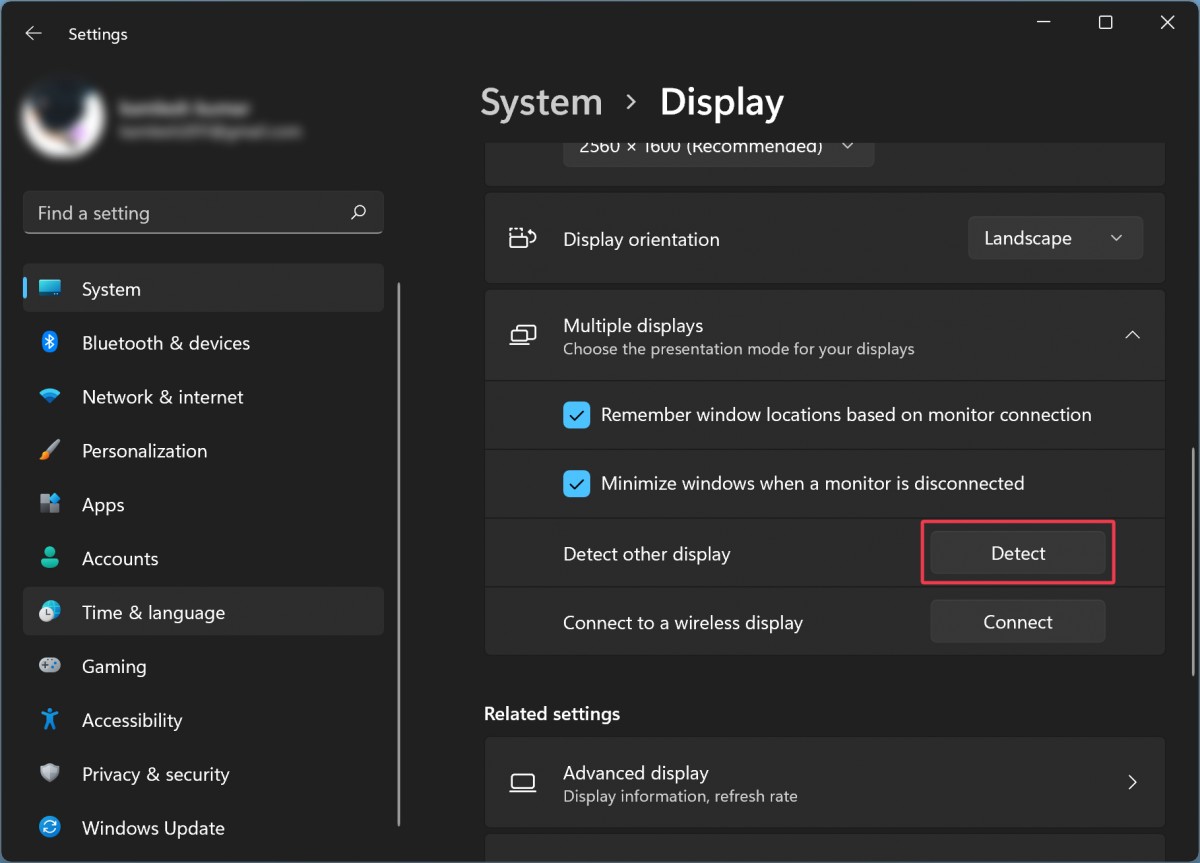
Step 5: If you don’t see the monitors, click on the “Multiple displays” tile to extend it and then click on the “Detect” button inside the “Detect other displays” option
That’s it. After other displays connected to the computer have been identified or detected, scroll to the top of the Display settings page and you will be able to adjust settings for every connected display or monitor.

