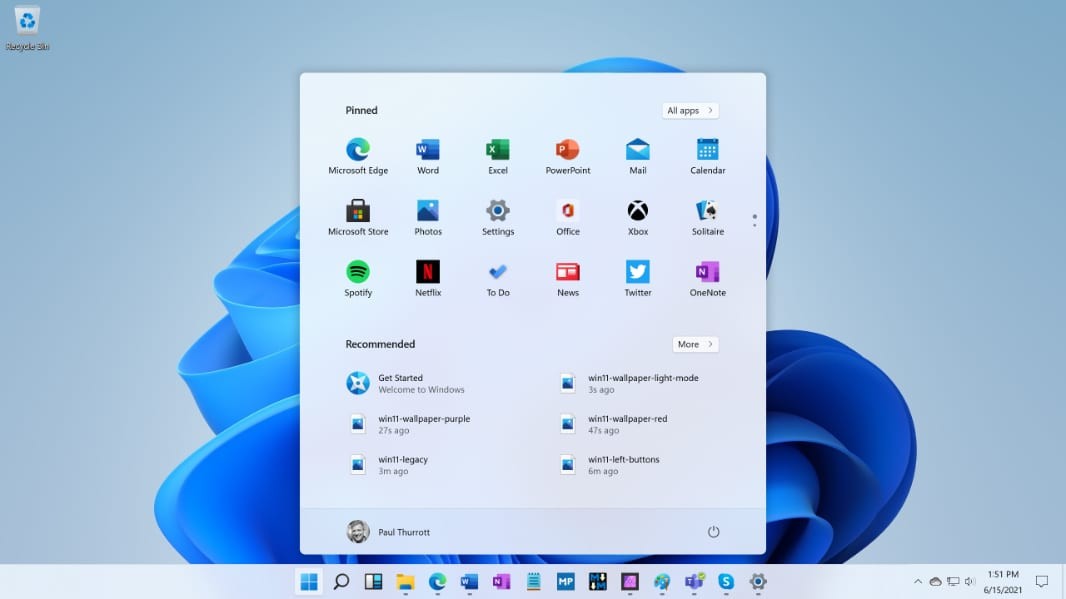
After Microsoft announced the Windows 11 operating system as the successor of the Windows 10 OS, several users joined the Insider Program to install the Windows 11 Preview version on their devices.
Given that it’s a Preview Version and not a stable build, the newer version of the operating system may not be for everyone. If you are one of those users facing issues with the Windows 11 Preview and want to roll back to the previous version, then here is a step-by-step guide for the same.
There are two different ways to roll back from Windows 11 to Windows 10 operating system — through the Settings app and through Clean Install. In this guide, we will show you the step-by-step process through the Settings app.

How to roll back from Windows 10 from Windows 11
Step 1: Open the Settings application on your computer and click on Windows Update.
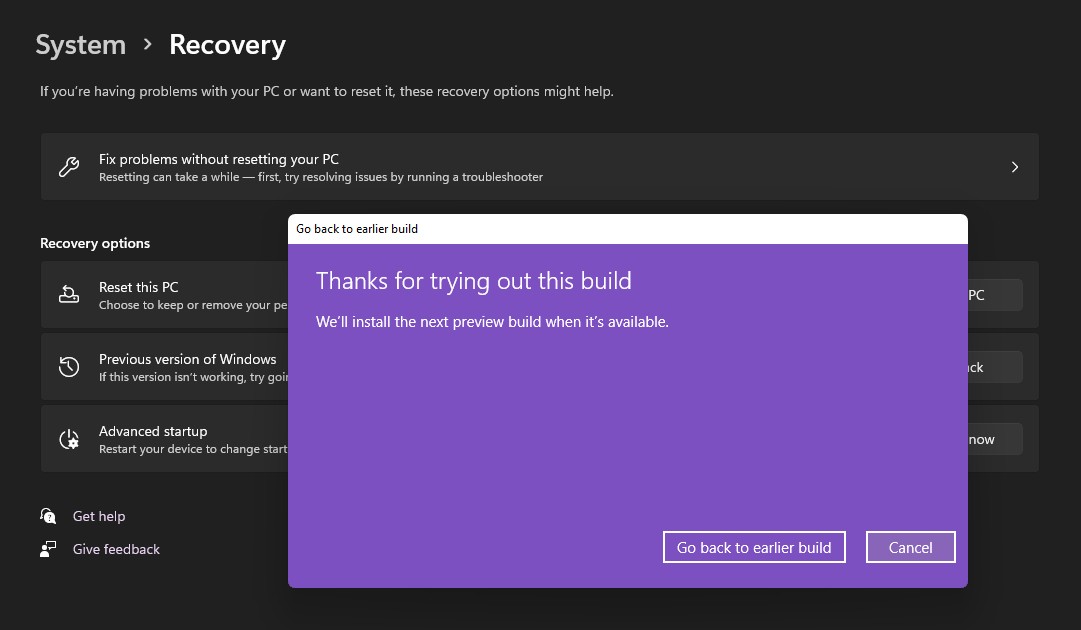
Step 2: Now, go to the Advanced Options and then click on “Recovery.”
Step 3: On the Recovery page, there’ll be an option that reads “Previous version of Windows.” Click on the Go back button.

Step 4: The Windows roll-back process will now be initiated. You will also be asked for a reason to roll back.
Step 5: Microsoft will now warn you about your data, reconsidering to stay on the existing build and your system password. Go through them and continue with the version roll-back process.
After the process is initiated, the computer will restart and install Windows 10. Do note that applications would be uninstalled, so you will have to install them again.
