With the new Windows 10 May 2020 update aka version 2004, Microsoft unveiled a new version of the Cortana digital assistant. It has now became a standalone application and is no longer a part of Microsoft Search in Windows 10.
Thus, it has become much easier to uninstall Cortana from the Windows 10 operating system as well as to re-install it. Follow the below mentioned step-by-step guide to remove and reinstall Cortana on your computer.
Before processing further, make sure that you are running Windows 10 with May 2020 update or higher version.
How to remove Cortana from Windows 10
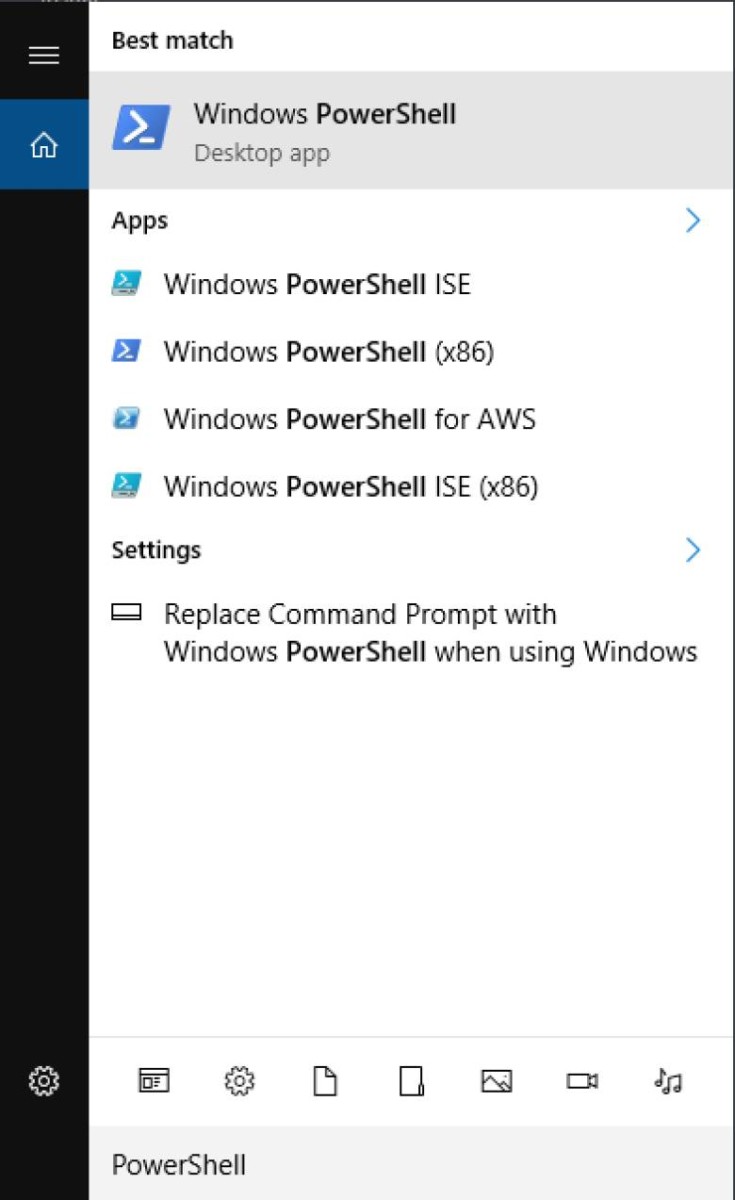
Step 1: Open the Start Menu on your computer.

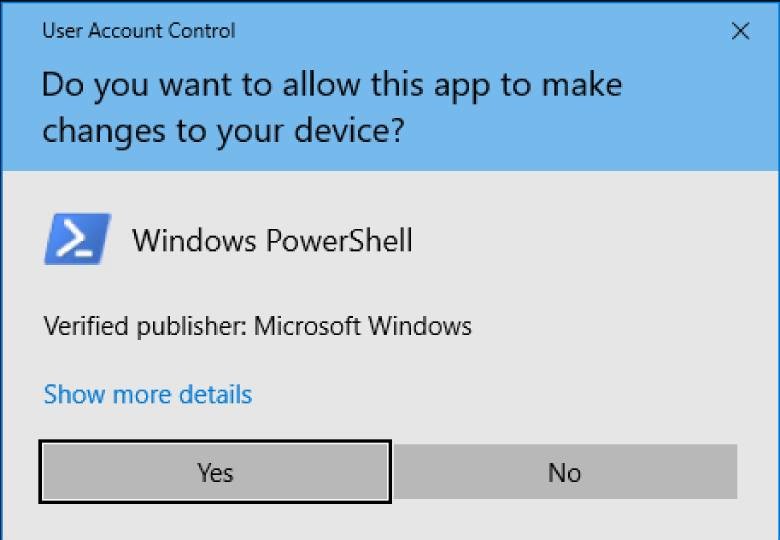
Step 2: Type in “powershell” and launch Windows PowerShell in Administrator mode by right-clicking on the icon and selecting “Run as Administrator.” In the permission prompt window, click on “Yes” to continue.

Step 3: In the PowerShell, enter the following command:
Get-AppxPackage -allusers Microsoft.549981C3F5F10 | Remove-AppxPackage

That’s it. The Cortana has now been removed from your computer. As you are using the PowerShell here, you won’t get any confirmation that the application has been removed.
But even after you remove Cortana, you’ll still be able to see the icon for the same in the taskbar. To remove the icon, right-click on the taskbar and uncheck the option that says “Show Cortana button”.
How to Reinstall Cortana in Windows 10
For some reason, if you want to get Cortana back on your computer powered by Windows 10 OS, it is very easy to do so.
Just go to the Microsoft Store and search from Cortana. When you see the Cortana app, click on the “Get button and then click on “Install”. Now, just wait for the app to get downloaded and installed and you are set.
We’ve written a lot of guides related to Windows 10, macOS, Android, iOS, Chromebooks, among others. So, make sure to check out our Guides section for more of such helpful guides and tips.

