Disk management in Windows operating system is quite easy and the system automatically recognizes any new hard drive that you attach to your computer, especially if it’s an external drive.
Apart from the physical drives, Windows-powered computers also have the ability to mount a network mapped drive on the computer, allowing users to quickly and easily share or store files and folders to the network.
If you have a network drive mapped on your computer but now there’s no need to have the drive on your device for whatever reason, there’s are different ways to remove the drive from the computer.
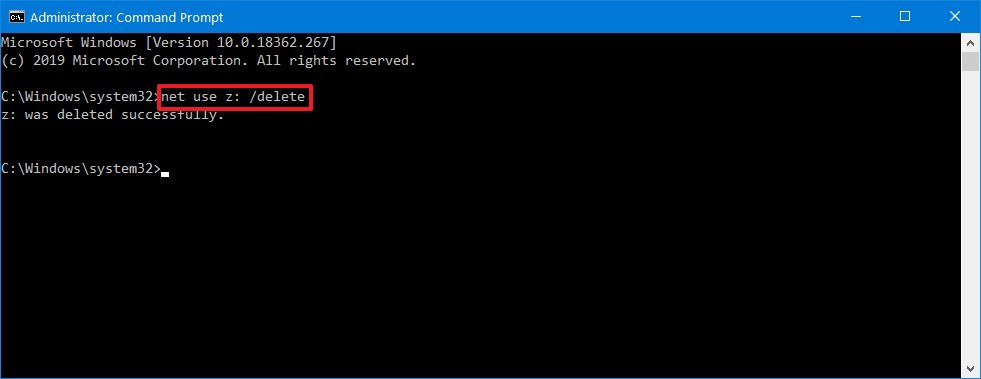
Among several different ways to remove a network mapped drive from your Windows-powered computer, in this step-by-step guide, we will show you how to quickly and easily disconnect a mapped network drive from your device using Command Prompt.
How to disconnect a mapped network drive in Windows OS
Step 1: Open the Start Menu on your Windows OS-powered computer.
Step 2: When the menu opens, search for Command Prompt and select the “Run as administrator” option.
Step 3: In the Command Prompt, enter the following command:
net use d: /delete
Make sure that you change the drive letter from “d” to whatever it says for your network mapped drive.

Step 4: Restart your computer for the changes to take effect.
That’s it. Once you have followed the above-mentioned step-by-step guide on your Windows operating system computer, then the mapped network drive will be removed from the device, and you will no longer see it in File Explorer or be able to access it.

