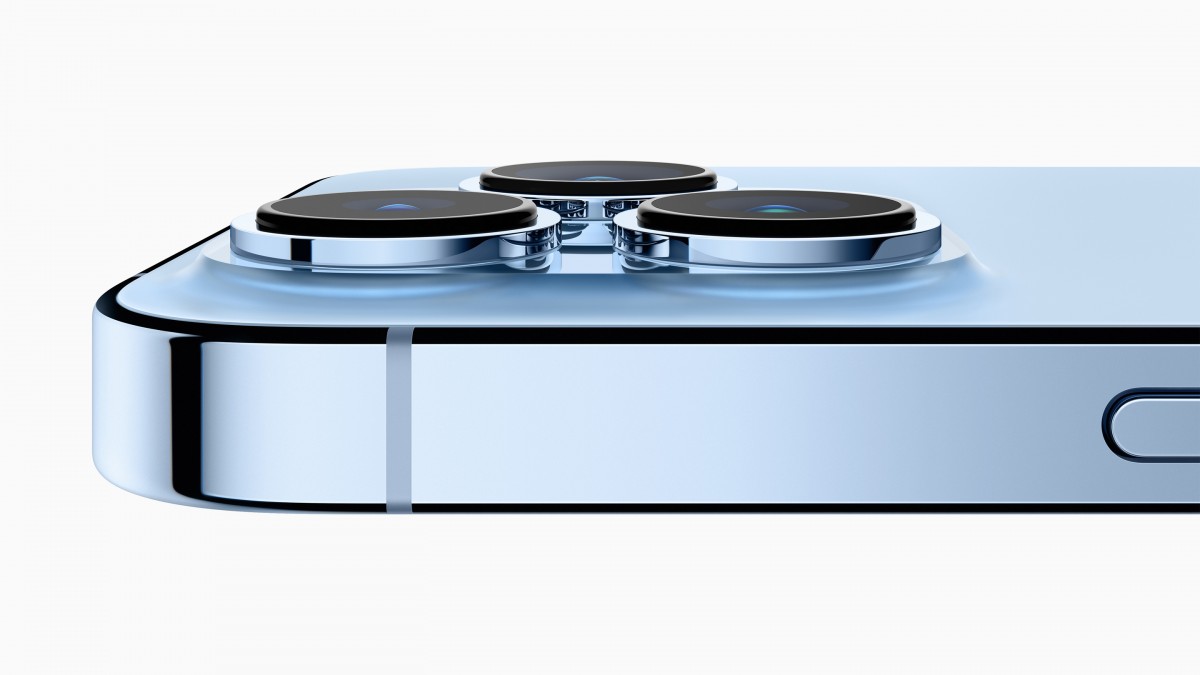
With each new iteration of the iPhone, Apple brings in some new features to the camera application. The latest iPhone 13 Pro also comes with some great capabilities and one of them is the ability to shoot images and photos up-close using the macro mode on the smartphone.
The latest iPhone 13 Pro/Max comes with an ultra wide lens that has an f/1.8 aperture with 120-degree field of view. If you have been wondering how to use the macro mode on the new iPhone 13 Pro smartphone, then here is a step-by-step guide for the same.
Talking about this new camera configuration, Apple says that the new lens design has the autofocus capability for the first time in the Ultra Wide on iPhone, and advanced software also unlock something never before possible on iPhone: macro photography.
Apple adds that with macro photography, users can capture sharp, stunning images where objects appear larger than life, magnifying subjects with a minimum focus distance of 2 centimeters.

How to take macro photos and videos with Apple iPhone 13 Pro
Step 1: Open the built-in Camera application on your iPhone 13 series phone.
Step 2: When the app opens, make sure that the “Photo” tab is selected to ensure that the photo mode is enabled. You can find this just above the shutter button.
Step 3: Now, bring the camera close to the subject, within 2 cm (0.79-inches). You will notice a blur/frame change effect as you enter macro photo mode. Shoot the photos that you want to capture.
Step 4: For the video mode, you follow the same process as the one mentioned in step 3 for taking macro photos. However, do note that the switch from normal mode to macro isn’t clearly noticeable in the video mode.
Currently, the switching between the standard mode and the macro mode is being automatically but Apple has said that it will change in the future and the users will be able to toggle the modes.

