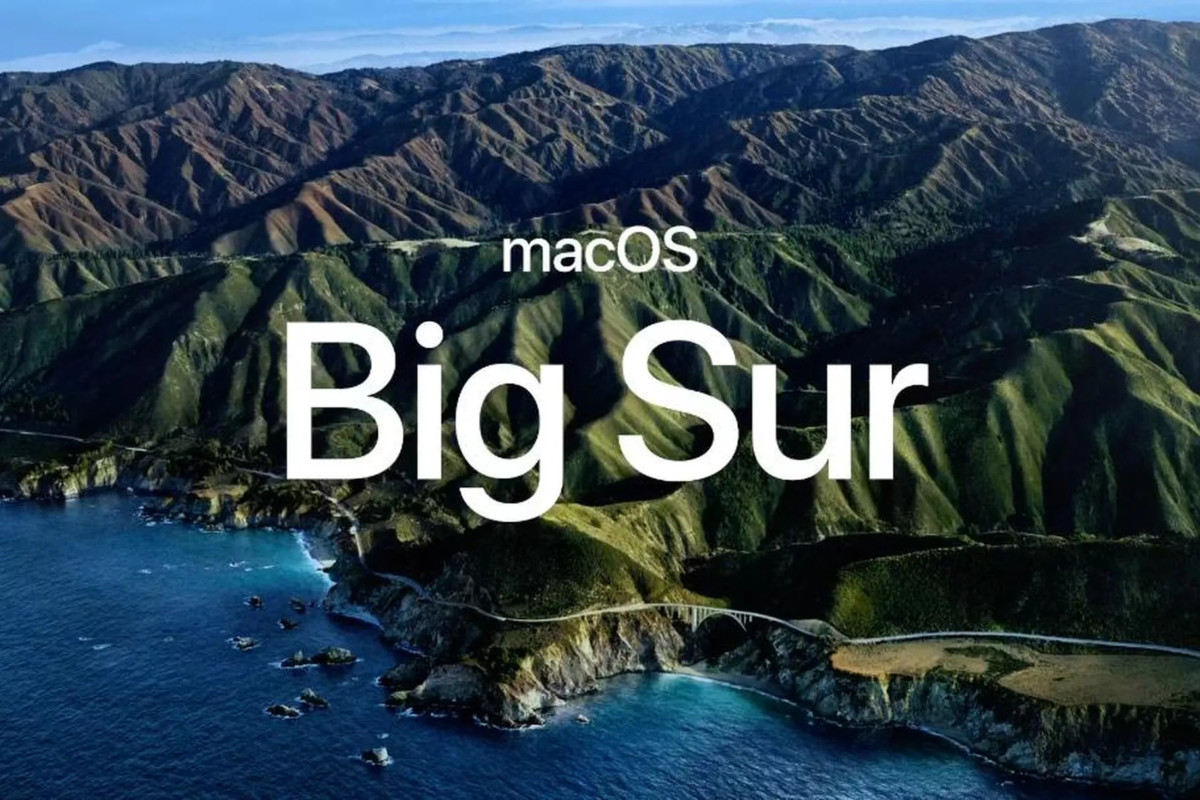
At WWDC this year, Apple announced its new macOS 11 Big Sur with several new features and a design upgrade. Till now, the update was only available as a Developer Preview to the developers, but now, the company has rolled out the Public Beta version for the general users to try out the new features.
If you want to try out the new macOS Big Sur on your Macbook or iMac before the company starts rolling out the stable version, follow this step-by-step guide.

How to install macOS Big Sur Public Beta
Step 1: Before proceeding further, it’s a good idea to take a backup of your Mac system. So, just in case you face issues during this process, you can always restore the system to the current state.
Step 2: Once the backup is created, visit Apple’s Public Beta website from your Mac. When the website opens, Sign-up there or if you already have, then log-in.
Step 3: Now, after logging in, click on the “Enroll Your Devices” option from the top-right corner.
Step 4: From the five given options, choose the “macOS” tab.
Step 5: Scroll down and click on the button that says “Download the macOS Public Beta Access Utility.” When a prompt dialog box appears, click on “Allow.”
Step 6: A file named utility.dmg will be downloaded on your system. Go to the Downloads folder and open that file.
Step 7: Now follow the prompts and on-screen instructions.
Step 8: The Software Update window will automatically launch. You will now notice that the macOS Big Sur public beta is now available to download and install.
Remember that the file size for the macOS Big Sur beta update is around 10 GB, so make sure you have enough bandwidth and time to download the file. Also, keep in mind that this is not a stable update and some users might experience some performance issues and bugs.
We have recently published a guide on how you can install iOS 14 Public Beta version on your iPhone. iOS 14 comes with several new and interesting features, some of which users have been demanding for years.
