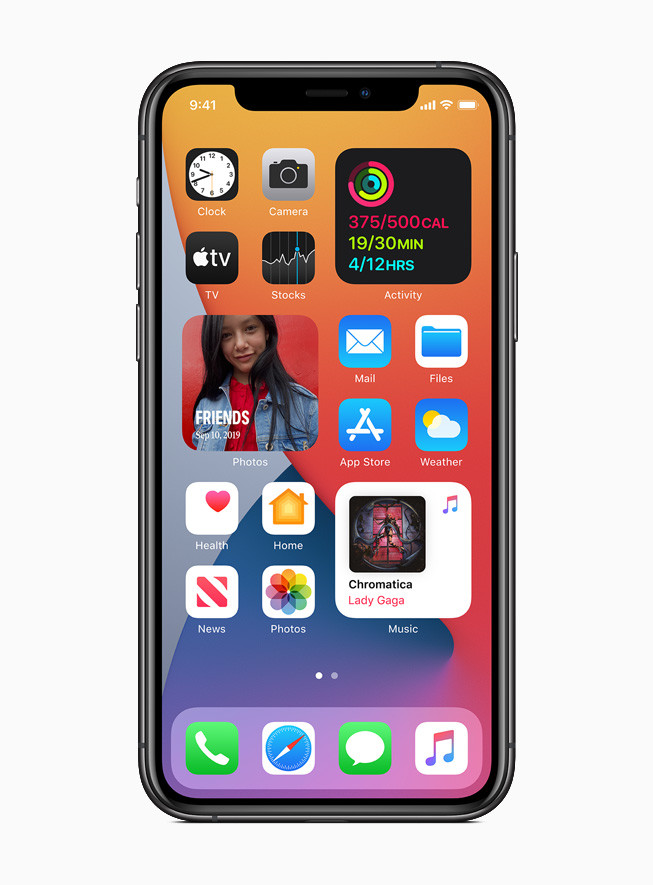
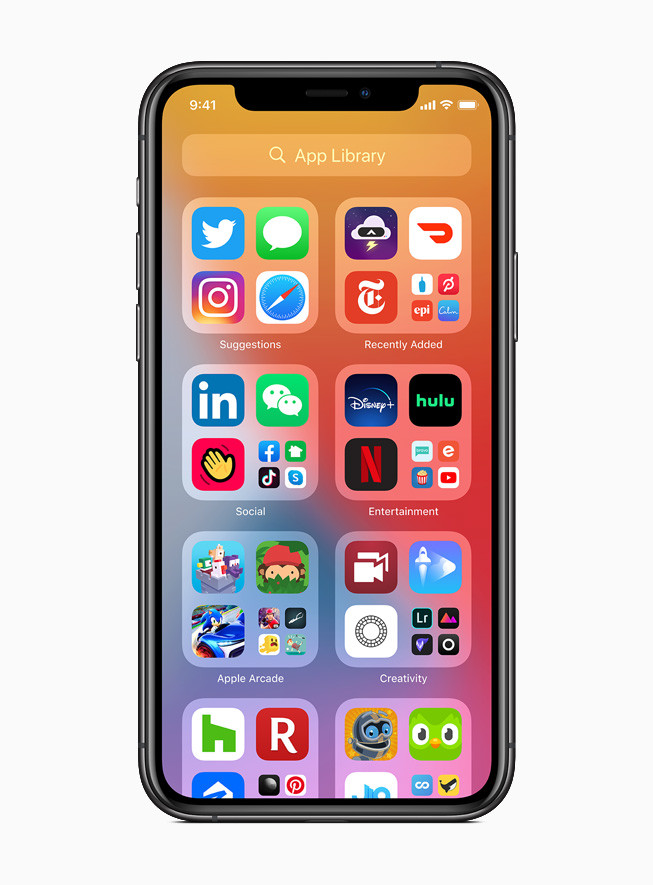
Last month, Apple announced the all-new iOS 14 update for the iPhone. It comes with several new features and improvements. We have published an article highlighting some of the major new features and improvements.
Till now, the iOS 14 was available to install on iPhone as a Developer Preview. However, the company has now released the Public Beta version of the newer version. In this guide, we will show you a step-by-step process on how you can install the latest iOS 14 Public Beta on iPhone.
Install iOS 14 Public Beta on your iPhone
Step 1: First of all, make a backup of your iPhone with your Mac or PC. So, just in case you need to restore to the current state, you can.
Step 2: Now go to Apple’s public beta website on your iPhone and sign up there if you haven’t already.

Step 3: Once logged in, click on the option that says “iOS 14.”
Step 4: Swipe down on the page and then tap on the option “Download Profile.” If you don’t see that option, you will need to “enroll your iOS device” from the Getting Started section on the same page.


Step 5: Keeping following the on-screen prompts to install the iOS 14 public beta. When asked tap “Allow” to download the profile.
Step 6: Once the profile is downloaded, go to the Settings on your iPhone and you will notice a new option that reads “Profile Downloaded.” Tap on it.

Step 7: Now, tap on “Install” at the top-right corner and if asked, enter the passcode of your iPhone.

Step 8: Read the consent agreement, tap on “Install” whenever the prompt appears. After that, tap on “Done”.
Step 9: Go back to the Settings main screen and tap on “General.”

Step 10: Now go to “Software Update” and the iOS 14 update should be visible. Tap on “Download and Install.”


The downloading and installation process may take longer as the file size for the iOS 14 public beta update is about 5 GB. But when the process gets completed, you will be using the latest iOS 14 on your iPhone.


