Windows operating system from Microsoft comes with a very powerful tool in the form of Group Policy Editor that enables you to make several advanced changes to the system and the alter the user interaction.
However, not every version of Windows comes with the support for Group Policy Editor. It is only available for Windows Pro, Enterprise, and Ultimate editions. Most of the users are on Home edition, which doesn’t come with this tool.
In this guide, we will show you how you can install and run Group Policy Editor on your Windows 10 Home edition system.
Run Group Policy Editor in Windows 10 Home
Step 1: First of all, download the installer by clicking this link.
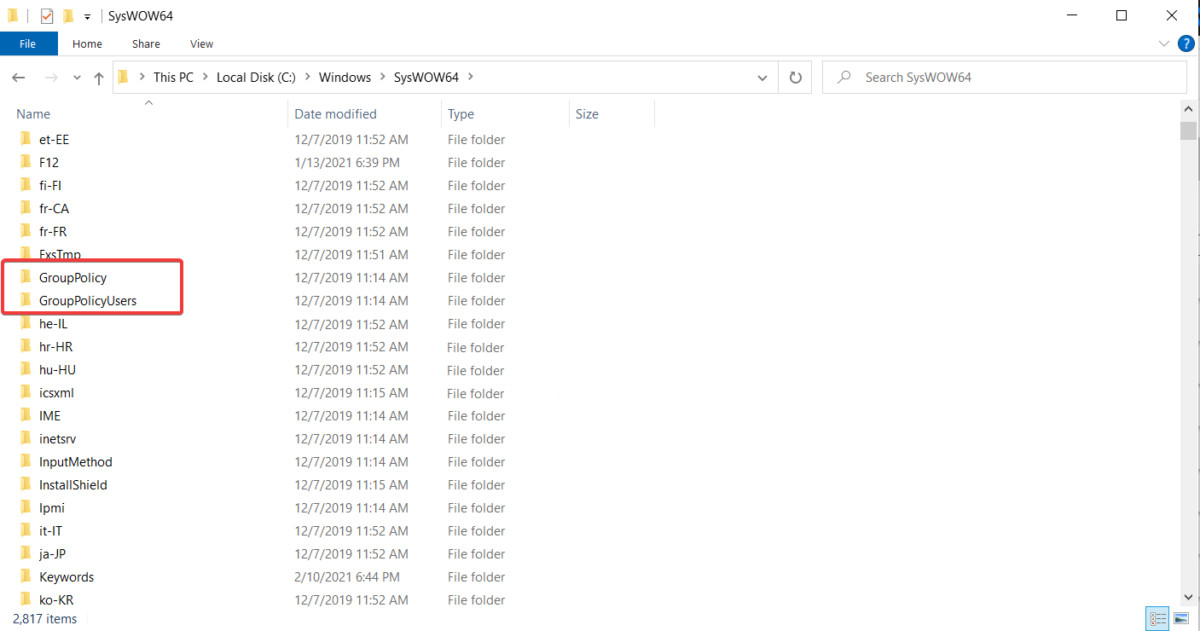
Step 2: Now, go to C:\Windows\SysWOW64 and copy “GoupPlicy”, “GroupPolicyUsers”, and “gpedit.msc”.

Step 3: Navigate to the “C:\Windows\System32” and paste the three files that were copied in the Step 2.
Step 4: Now run the installer and follow the on-screen information. However, at the end of the installation process, DO NOT click the “Finish” button. Instead, close the window.
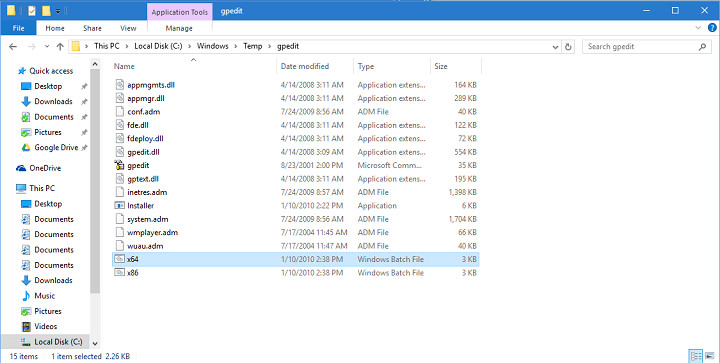
Step 5: After that, go to “C:\Windows\Temp\gpedit”, right-click on the x86.bat file and select “Open With > Notepad”.

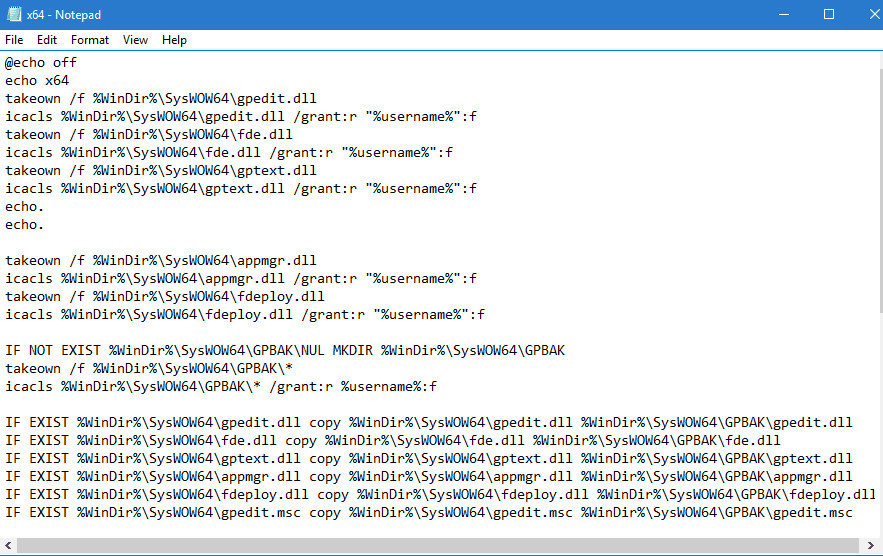
Step 6: In the Notepad, replace every instance of %username%:f with “%username%:”f .

Step 7: Save the file and then run it as Administrator.
That’s it. You should now be able to run Group Policy Editor on your Windows 10 Home computer. Do note that the method was originally reported for Windows 7 but it apparently also works for Windows 10. Windows7forum’s user “davehc” has created the installer for Group Policy Editor.
