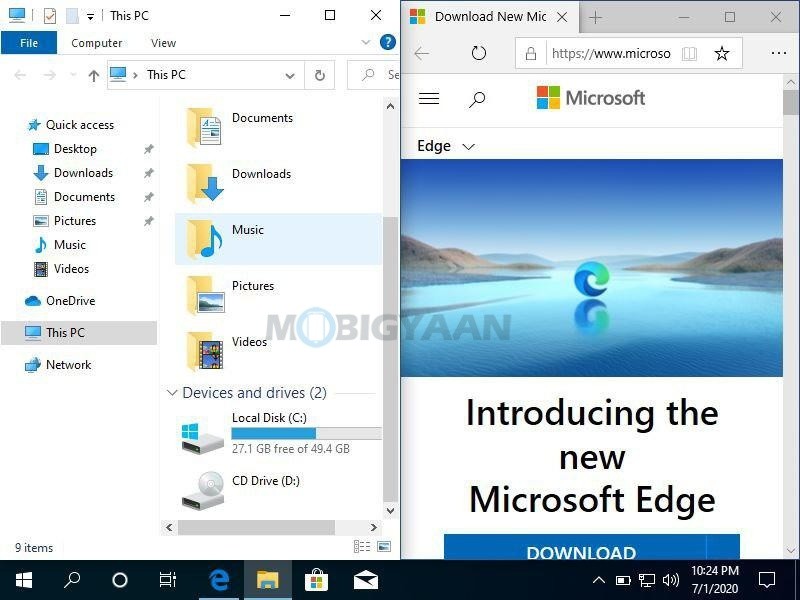
Windows 10 comes with a built-in feature that allows you to split-screen for multi-window use. If you are trying to multitask on Windows 10 and run two or more apps simultaneously, you can simply do it on the same screen or on multiple screens using the Split Screen feature on Windows 10. Here’s how.

How To Use Split Screen On Windows 10
No matter you use Google Chrome for watching YouTube videos or reading a document or editing an image in Paint, the Split Screen works seamlessly. By using the Snap assist, you can easily split the screen into two halves or four.
Snap assist helps Windows 10 users to multitask on one or more than one display. Snap allows you to add up to four active windows on the screen to avoid frequent windows navigation.
Before you start using the Split Screen feature, turn on the Snap assist feature on your Windows 10.
- Launch the Windows 10 Settings by pressing the keyboard shortcut Windows Key + I.
- Click on the System and then Multitasking from the list.
On the right side, you can see the Snap options, turn on the sliders in case they are turned off. This will enable the Snap features on your Windows 10. Usually, these are already turned on by default on Windows 10.
The Snap assist has these four following options.
- Arrange windows automatically by dragging them to the sides or corners of the screen.
- When I snap a window, automatically size it to fill available space.
- When I snap a window, show what I can snap next to it.
- When I resize a snapped window, simultaneously resize any adjacent snapped window.
How To Split Screen With Snap Feature
- Launch the apps that you want to split-screen and multitask.
- Drag the first app on the to the left or right side of the screen, this will stick the window to the sidewards and open up space on the screen for the second app.
- Similarly, choose the second app and drag it to the side of the free space on the screen.
- Now there are two apps that you can use in split-screen mode.

Make Use Of Keyboard Shortcuts To Split Screen
- Windows Key + Right Arrow: Move the app window to the right half of the screen
- Windows Key + Left Arrow: Move the app window to the left half of the screen
- Windows Key + Right Arrow + Up Arrow: Move the app window to the top right of the screen
- Windows Key + Left Arrow + Up Arrow: Move the app window to the top left of the screen
- Windows Key + Right Arrow + Down Arrow: Move the app window to the bottom right of the screen
- Windows Key + Left Arrow + Down Arrow: Move the app window to the bottom left of the screen
- Windows Key + Down Arrow: Minimize the window
- Windows Key + Down Arrow: Maximize the window
Did you like this quick tutorial? If you do, make sure you also check out more tutorials, guides, tips, and tricks related to Windows and Mac.
For more updates on the latest smartphones and tech, follow us on our social media profiles.

