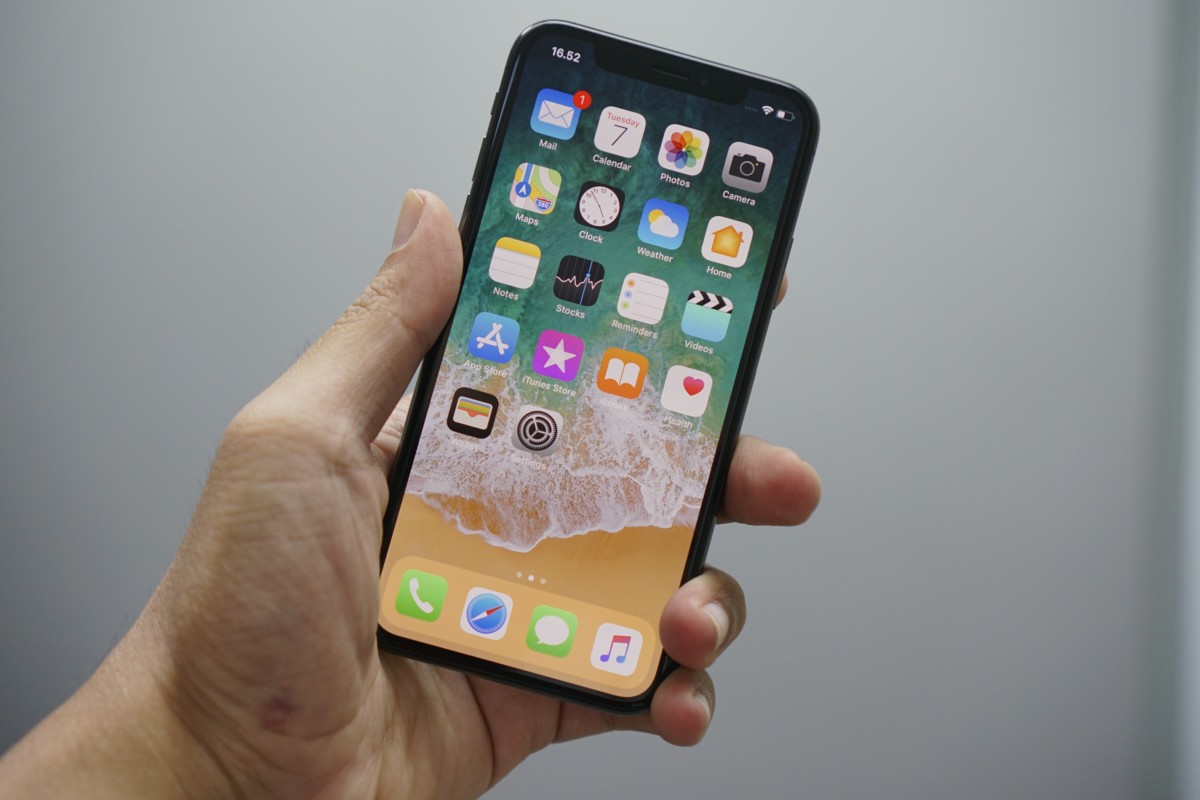
Natural photos can be boring sometimes due to their regular looking colors, hence to standout editing your photos becomes important. The inbuilt Photos app on iPhone got a major update with the release of iOS 13 and it’s so good now that users hardly use any third party app to edit their photos. If you are someone who is new to the App then this guide is for you. We are going to cover all the important editing tools that come with the inbuilt Photos app so let’s get started.

1. Make use of Presets and Filters
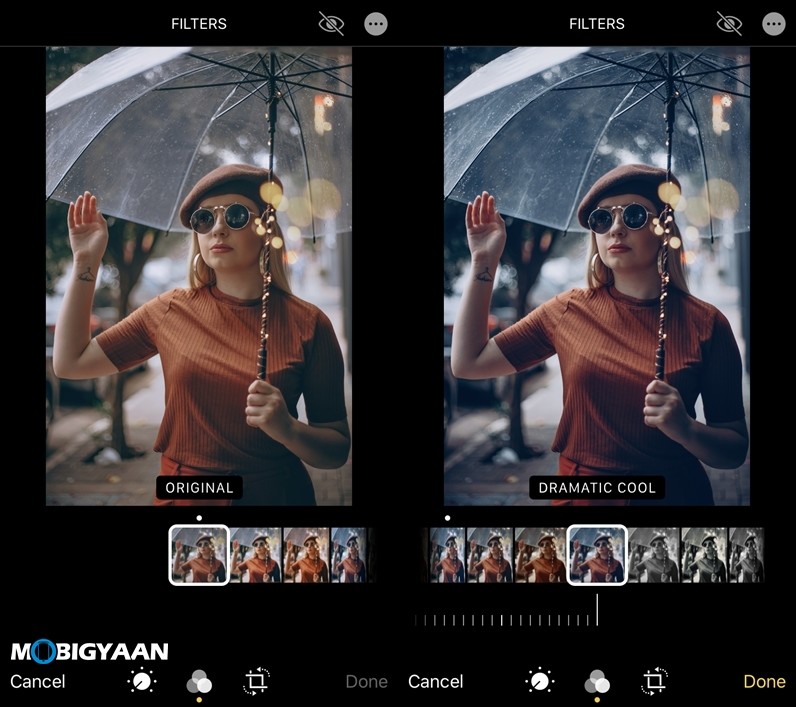
Filters play an important role when it comes to photo editing. These filters are used to make changes to the overall brightness of an image, adjust its color tones, and much more, and using them gives an overall better look to your image. The inbuilt Photos app on the iPhone comes with a variety of filters that you can use to edit your image. To use a filter on your image all you have to do is:
- Look for the image you want to edit and tap on “Edit“. Once you are in the editing space move to the filters section and apply the filter which goes best with your image.
2. Make changes to the color tones with the help of Inbuilt tools.
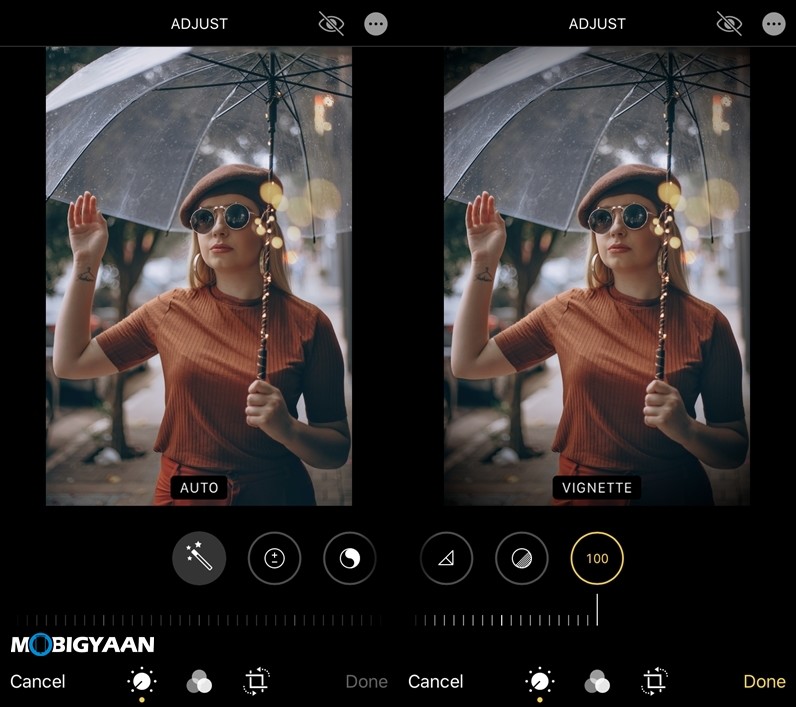
If filters aren’t giving the right look to your image then you can take advantage of the inbuilt editing tools to enhance the color tones in your image. Right next to the filters section in the Photos there’s a section that allows users to manually adjust the Exposure, Brightness, Shadows, Vibrance, and much more.
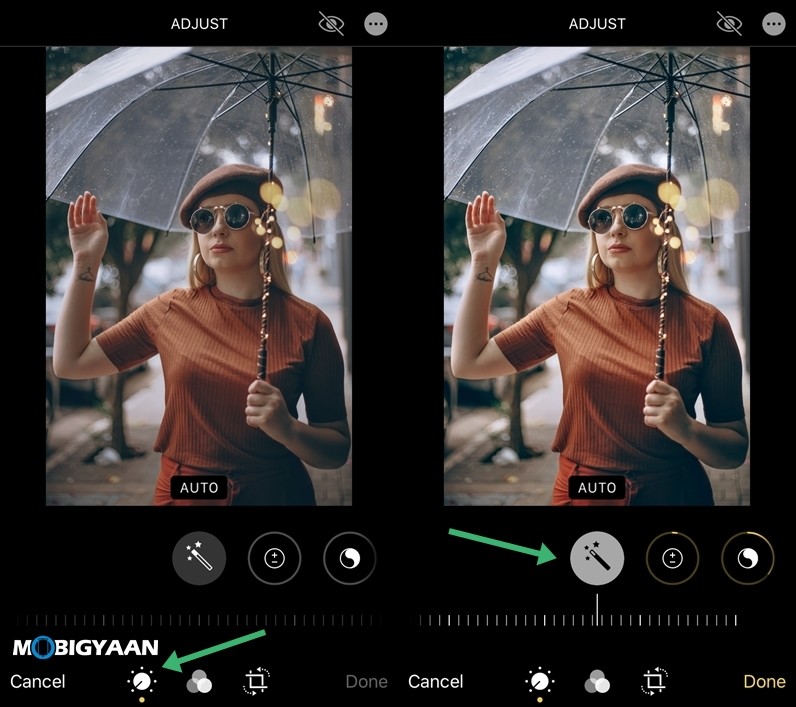
Manually adjusting everything becomes time-consuming and not all users feel very comfortable playing around with the image, hence this section also comes with an “Auto Adjust” feature that automatically edits your picture and gives it a better look. To use these features all you have to do is:
- Tap on the “Adjust” section to bring up the editing tools.
- Select the effect you want to adjust and move around your slider to increase or decrease that effect.
- Tap Done to save your changes.
In addition to this, to automatically edit your image just tap on that Magic Wand once and edits will be applied automatically on your image. Have a look at the image below to see how it’s done.
3. Add More Details in your Photos
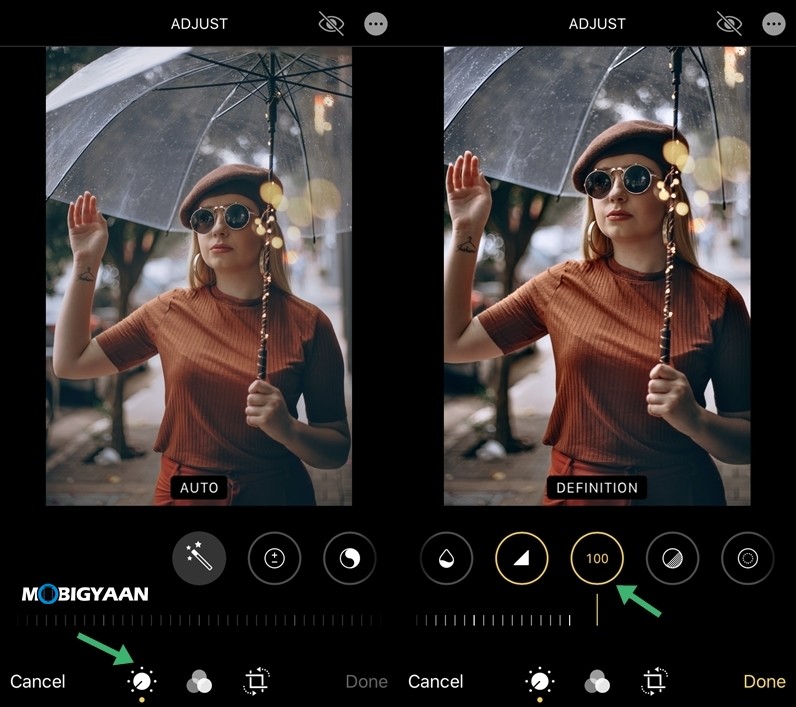
The inbuilt Photos app on iPhone features two modes- Sharpness and Definition that allow you to add more details in your images and as a result, it looks way more appealing when you compare it with the original image. To add Details in your images all you have to do is:
- Select the Definition or Sharpness tool in the editing tool and adjust the slider to increase or decrease the effect in your image.
- Tap on “Done” to save changes to your image.
Have a look at the image below to see the difference between the normal image and the one which has more details.
4. Make use of the Vignette Effect
The Vignette Effect is used to attract your audience to the main subject as it creates a black border around the edges and draws your attention towards the subject. This is a useful feature that can be used when you are editing Portraits and images involving some other objects. To add the Vignette effect in your photos all you have to do is:
- Slide to the end of your editing tools and select “Vignette”.
- Adjust the slider according to the vignette and tap “Done” to apply your changes.
5. Crop Out the Unwanted Areas
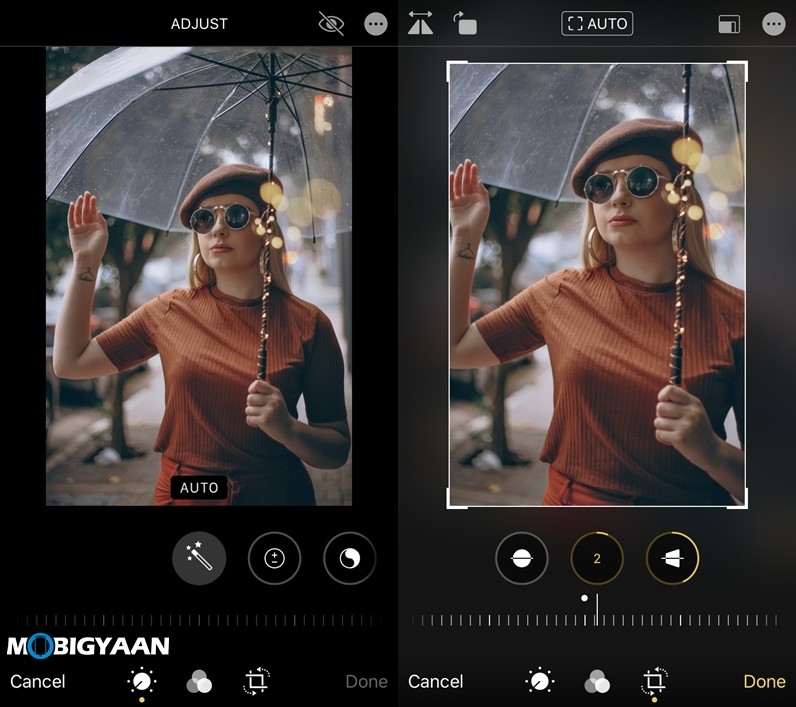
The crop tool in the Photos app allows you to crop the unwanted areas in your photo. Just like the other editing tools, this also features an Auto Edit feature that automatically crops out the image to the best form. In addition to this, it also allows users to expand the image vertically and horizontally. This can be used when you want people to directly focus on the subjects else you can also use this feature in your everyday life to remove unwanted parts from your screenshots and more.
Do check out more tutorials, guides, tips, and tricks on Android as well as iOS. For more updates on the latest smartphones and tech, follow us on our social media profiles.

