Want to change Apple ID for FaceTime on your Mac? The Apple ID associated with your FaceTime app on Mac can be changed easily, Apple allows you to change Apple ID for FaceTime from within the app, here’s how.
When you open the app for the first time, you will be asked to log in to your Apple ID, and if you have entered an old ID, this can be changed later from the FaceTime Preferences. To change Apple ID for FaceTime on your Mac, follow these easy steps below.

How to change Apple ID for FaceTime on Mac
- Step 1: Open the FaceTime app on the Mac.
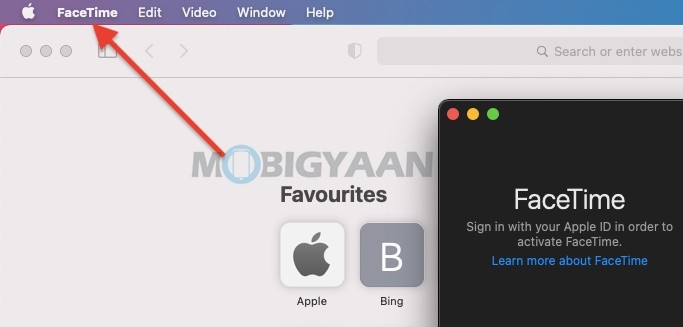
- Step2: Make sure the FaceTime app window is active, and then go to the top menu bar as shown in the screenshot and click on the FaceTime located right next to the Apple icon.

- Step 3: Select Preferences from the dropdown menu.
- Step 4: You will see your Apple ID that is currently logged into FaceTime. Right next to it, you will find the option to log out. Click on Sign Out and proceed.
- Step 5: Now, simply enter the login details for your alternate Apple account and click on Next to sign into the FaceTime app.
- Step 6: You just have changed your Apple ID for FaceTime on your Mac.
Like this guide? More Mac and Windows stuff are available below, take a look.
- How to force restart M1 MacBooks and Mac Mini [M1 Chip]
- How to activate dark mode in Safari on your Mac
- How to merge multiple PDF documents in a single file on Mac
- How To Print Documents To PDF On Mac
More of these can be found here at – Mac, Windows, iPhone, and iPad tutorials. To get updates on the latest tech news, smartphones, and gadgets, make sure to follow us on our social media profiles.
