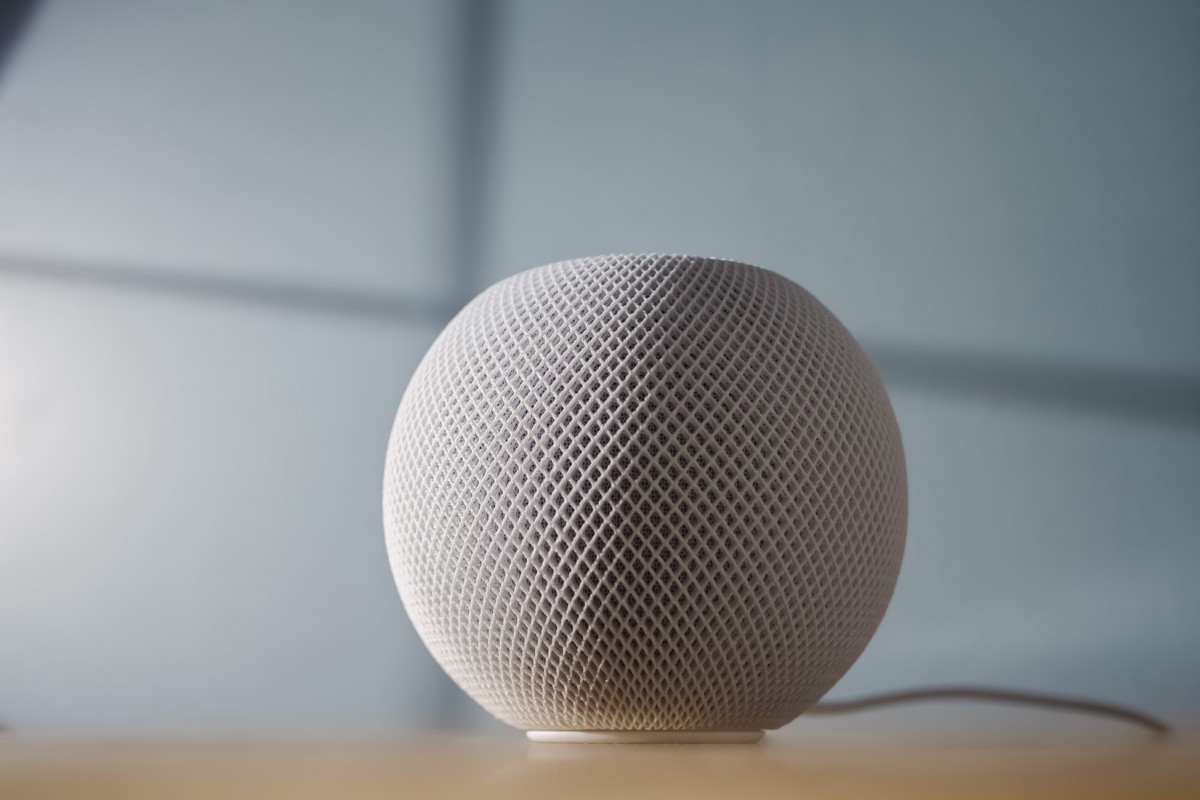
Earlier this month, Apple rolled out a new HomePod 16.3 version of the software for the Apple HomePod smart speakers, which added support for humidity and temperature sensing to the second-generation models of the HomePod and HomePod Mini.
When the HomePod Mini was launched, it was known to have unused temperature and humidity sensors, but now Apple has updated the software, making the sensors available to use on the smaller smart speaker. Do note that this is only for the second-generation models and the first generation model which doesn’t have these sensors installed.
If you are running the latest version of the software on HomePod or HomePod Mini, then here is a step-by-step guide on how you can access the temperature and humidity sensors readings on your iPhone or iPad.

How to get temperature and humidity sensors readings from Apple HomePod
Step 1: Open the Home application on your iPhone or iPad.
Step 2: When the app opens, select the home and the room where the device is located. Alternatively, you can also select the “Climate” button at the top of the main screen.
Step 3: In there, look for the Temperature and Humidity readings at the top of the screen.
If there are multiple devices in the room, then the screen will show an average of all the values.
Step 4: Tap on the readout and then the sensor button to access more options.
That’s it. Once you have followed the above-mentioned step-by-step guide, then you have accessed the temperature and humidity sensor readings from the Apple HomePod. When you access more options for the device, then you can also change the name of the sensor, change which room it is linked to, check its status, and also add an automation.

