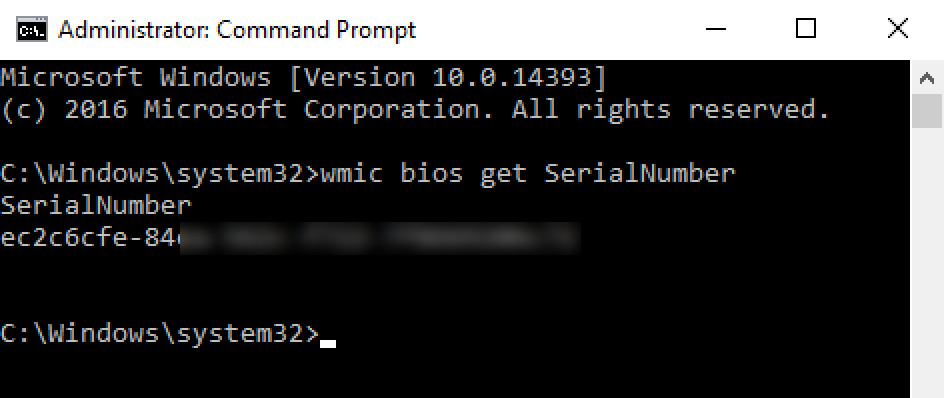
It is a good idea to have your Windows 10 computer’s serial number handy. The serial number may be required in case you want to contact technical support team to troubleshoot any issues you are facing with the computer.
One of the most easiest way to get the serial number is to check the stickers on the computer. But what if the sticker has been removed or the text on the sticker has erased? Well, you can check the BIOS settings, which may not be the best option for everyone given the complexity and risk of altering settings.
In this guide, we will show you a step-by-step process on how you can find out your Windows 10 computer’s series number using Command Prompt.
Find out Windows 10 computer serial number
Step 1: Open Start menu on your computer and search for “Command Prompt.”
Step 2: From the search results, right-click on “PowerShell” and click on the option Run as administrator.
Step 3: Now, to find out serial number, enter the following text:
wmic bios get SerialNumber

Step 4: To export the serial number to a text file, enter the following text:
wmic bios get SerialNumber > D:\MobiGyaan\Files

Make sure that you replace the “D:\MobiGyaan\Files” with the actual path where you want to export the file.
Do note that while most of the computers will have support for this command, some devices won’t give out serial number with this command. This is because custom-built devices don’t have a series number. Instead, you will get an output that reads “To Be Filled By O.E.M.”
You can also check out our other Windows guide to make your experience even better by customizing the operating system as per your needs. We have also covered quite a few guides related to macOS and Chromebook as well.
