Apple’s newly released iOS 14 update comes with several new features and improvements, and of the focused point for the company is privacy and security. In line with that, Apple has added a feature that enables users to mask the Wi-Fi Mac address on their iPhone.
If the feature is turned on, it will be difficult for the wi-fi network provider to track your device or activity. Also, the settings are applied on a per-network basis so if you are connected to a network that has Mac address binding, you can skip the process for the network and there won’t be any issues.
In this step-by-step guide, we will show you how you can enable the Wi-Fi Mac address masking feature on your iPhone. Just make sure that your device is running the iOS 14 or later version.
How to enable Wi-Fi Mac masking on iPhone
Step 1: Open the “Settings” app on your iPhone.
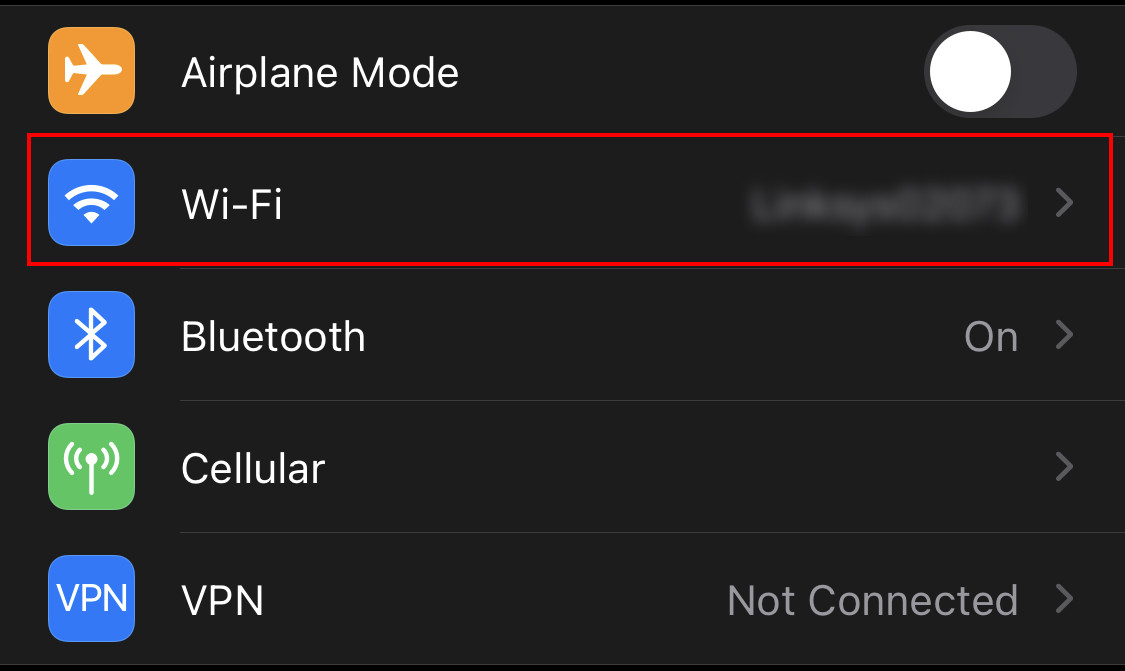
Step 2: Now, from the list of options, select the “Wi-Fi” option.

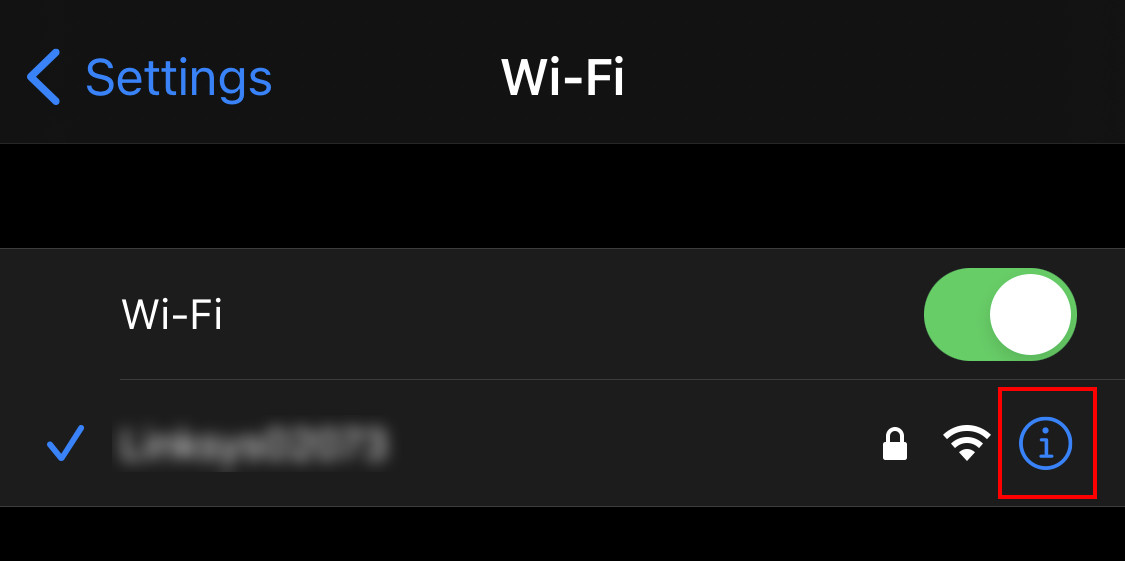
Step 3: Next to the name of the Wi-Fi network, click on the “i” button.

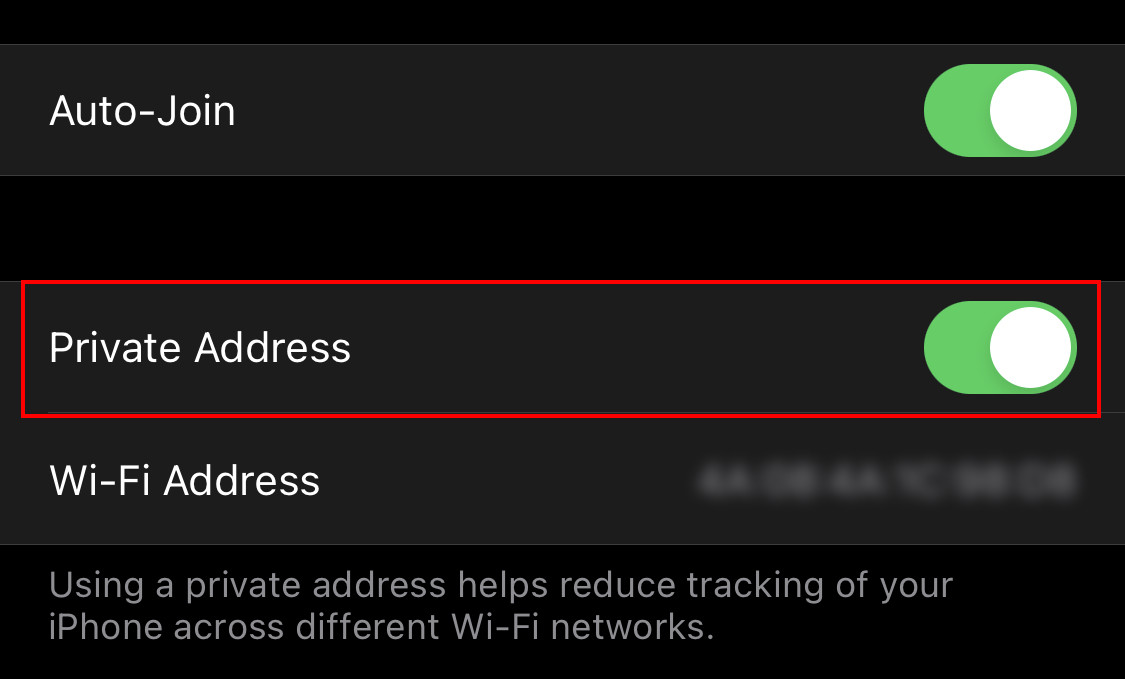
Step 4: In the next screen, toggle on the option “Private Address.”

Once this is done, the system will automatically mask your iPhone’s Wi-Fi Mac address. If you are making changes to the network that you are already connected to, click on the Disconnect option to finish the process and you’ll automatically reconnect to the same Wi-Fi network.
