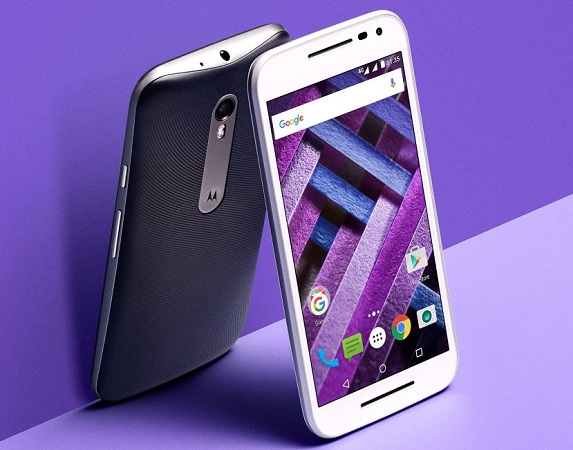
Androids come with advanced settings known as Developer options which can be further used by the developers or advanced users to test the software on the device. Often people want to enter Developer Options to enable USB Debugging so that they can modify Android’s behaviour the way it isn’t intended to do. USB debugging is required for people who are into app development. If you are a newbie to the developing apps on Android and want to enable USB debugging, here’s what you have to do. Follow these short steps on your Android phone.
![How to enable USB Debugging from Developer Options [Android Guide] 1 enable usb debugging android](https://www.mobigyaan.com/wp-content/uploads/2016/05/enable-usb-debugging-android-5.jpg)
Also, check out 5 cool things you can do with Developer Options on your Android device.
Enable USB Debugging from Developer Options on your Android
To reach USB Debugging option, you have to access Developer Options on your phone. Open Settings -> Developer Options. One some models, you have this type of path, Settings -> Advance Settings -> Developer Options. I have a stock Android so it is located right below the settings. For you, I have shown both the options that are available depending on the manufacturer of your Android device.
![How to enable USB Debugging from Developer Options [Android Guide] 2 enable usb debugging android](https://www.mobigyaan.com/wp-content/uploads/2016/05/enable-usb-debugging-android-1.jpg)
![How to enable USB Debugging from Developer Options [Android Guide] 3 enable usb debugging android](https://www.mobigyaan.com/wp-content/uploads/2016/05/enable-usb-debugging-android-2.jpg)
If you don’t have this option, you can easily get it by simply going to Settings -> About and tap the Android build number multiple times, you will see a toast message showing “You are now a developer”. The ‘Developer Options’ setting remains there and you don’t have to repeat the same method to access it again. Now you can access the developer options easily from Settings.
![How to enable USB Debugging from Developer Options [Android Guide] 4 enable usb debugging android](https://www.mobigyaan.com/wp-content/uploads/2016/05/enable-usb-debugging-android-4.jpg)
Once you are in the Developer Options, find an option called USB Debugging and tap the slider button to enable USB Debugging on your Android device. A warning message appears, read if you want and hit OK.
![How to enable USB Debugging from Developer Options [Android Guide] 5 enable usb debugging android](https://www.mobigyaan.com/wp-content/uploads/2016/05/enable-usb-debugging-android-3.jpg)
That’s it, you have successfully enabled USB Debugging on your Android device. Please note that USB Debugging is intended for development purpose only. Before using it, be sure what you are doing with your device because it can lead to security risks allowing critical system data to be altered in a way that may cause damage to the device or result in warranty void. USB Debugging is needed to connect with a PC for ADB, rooting and manually installing apps over USB connection. It can also be used for removing phone’s data or yet the best thing to do is to add a custom ROM.
Have any queries? Ask us in the comments, share if you like the guide. More guides can be found at our How-To Guides.

