Windows 10 operating system comes with a feature for underline keyboard shortcuts which has been around for a long time. It enables users to quickly navigate menus and select items in applications without the need to use the mouse cursor.
The feature works by underlining a letter of the option label. The underlined letter indicates the key you need to press in combination with the “Alt” key to select the item. Earlier, the feature was enabled by default but now it needs to be enabled manually.
In this Windows 10 guide, we will show you the easy step-by-step process to enable or disable the underline shortcut to navigate menus and select items faster.
Enabling Underline Access Keys on Windows 10
Step 1: Open the Settings application on your Windows 10 computer.
Step 2: Now, click on Ease of Access and then click on “keyboard.”
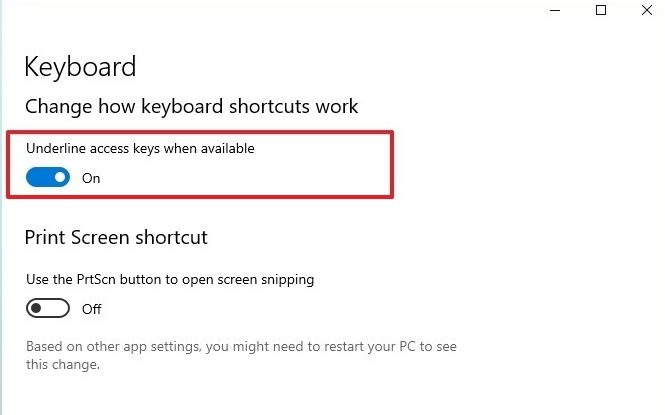
Step 3: Under the “Change how keyboard shortcuts work” setting, turn on the “Underline access key when available” toggle switch.

Once you have completed the above-mentioned steps, supported applications will include menus and items with a letter underlined so that you can use the Alt key to select the option.
If you want to disable this feature, you can follow the same instructions as mentioned above but turn the toggle switch off in step 3. That’s it.
