Microsoft’s Windows 11 operating system, like previous version of the Windows OS, comes with support for Remote Desktop which allows users access a computer remotely from any location and using any devices through the Remote Desktop Protocol or RDP.
When the feature is enabled, it can be used through the built-in Remote Desktop application or the legacy Remote Desktop Connection tool. The feature comes in handy especially if the user wants assistance for any of the issues or want to give control to another user.
There are several different methods to enable the Remote Desktop feature on Windows 11 operating system, like using Settings app, Command Prompt, PowerShell, and Control Panel but for this guide, we will be sticking to only one of these methods.
In this step-by-step guide, we will show you how to quickly and easily enable Remote Desktop feature on your computer running the Windows 11 operating system using the built-in Command Prompt tool.
How to enable Remote Desktop in Windows 11 using Command Prompt
Step 1: Open the Start Menu on your Windows-powered computer.
Step 2: In the Start Menu, search for Command Prompt and select the “Run as administrator” option.
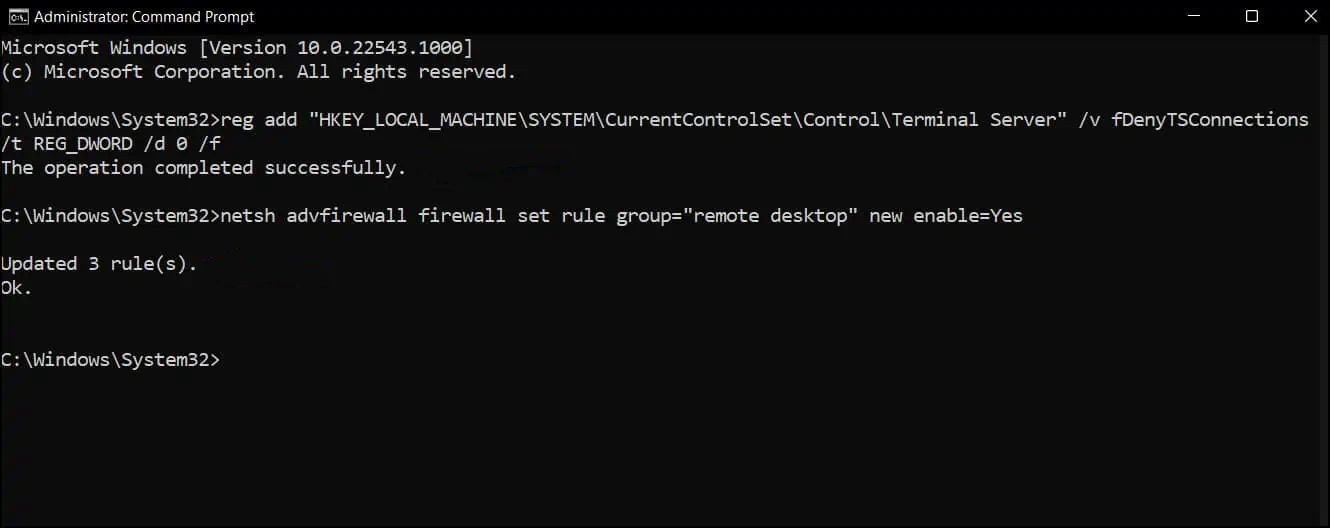
Step 3: When the Command Prompt window opens, enter the following command:
reg add "HKEY_LOCAL_MACHINE\SYSTEM\CurrentControlSet\Control\Terminal Server" /v fDenyTSConnections /t REG_DWORD /d 0 /f
You can also enable Remote Desktop with the Firewall rules by entering the following command:
netsh advfirewall firewall set rule group="remote desktop" new enable=Yes

That’s it. Once you have followed the above-mentioned step-by-step guide on your Windows 11 computer, then the Remote Desktop has been enabled on your device and you can remote login to the system from anywhere and using any device, even when firewall is also enabled on the device.

