Apple recently launched the AirTag tracking device that aims to make it easy for those who frequently misplace devices or accessories. It basically works similar to the Samsung Galaxy SmartTag or Tile tracker.
The newly launched AirTag also comes with the Precision Finding feature that uses the U1 chip found in the iPhone 11 and iPhone 12 lineup to easily locate lost items. But what happens when the AirTag is lost? Well, you can put it in the Lost Mode and use the Find My network to locate it.
Here is a step-by-step process on how you can put the Apple AirTag in Lost Mode with a custom message for anyone who finds it.
How to put Apple AirTag in Lost Mode
Step 1: Open the Find My application on your iPhone.
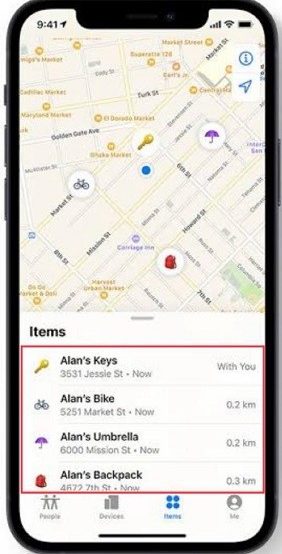
Step 2: When the app opens, click on the “Items” at the bottom of the screen.
Step 3: You will now get a list of devices. Select the AirTag that you want to put in the lost mode.

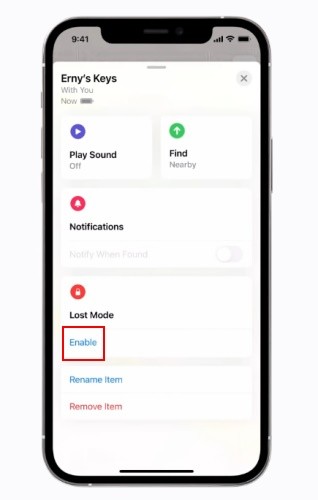
Step 4: Now, swipe up on the card for that AirTag to reveal more options. Under the Lost Mode section, tap on the “Enable” option.

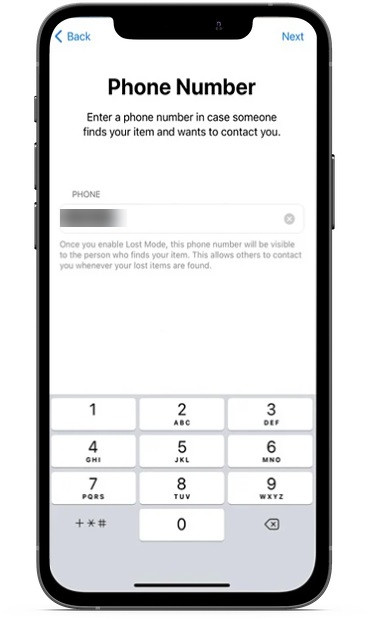
Step 5: Click on the “Continue” button and when asked, enter your phone number and then tap the “Next” button.

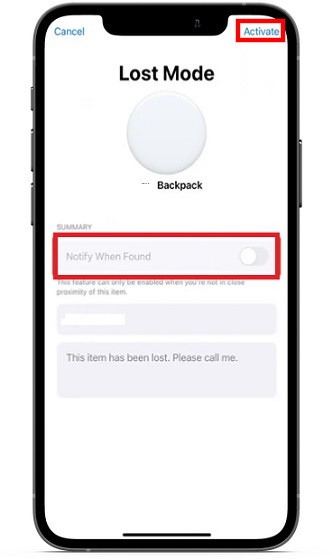
Step 6: You can toggle on the option for “Notify When Found.” You also get an option to customize the lost message that appears when someone else finds your AirTag.
Step 7: Now tap on the “Activate” option to enable Lost Mode.

That’s it. Now if someone finds your AirTag and it comes near an NFC capable Android or iOS device, an alert will pop up on their screen and link them to a URL with your lost message and phone number. You may also be able to view your AirTag’s location relayed through someone else’s device through the Find My network.
