Apple iPhone, as well as other devices from the company, have emerged a lot in the past few years when it comes to features related to accessibility. The company keeps adding more and more features to the iOS and iPadOS to ensure a better user experience for everyone.
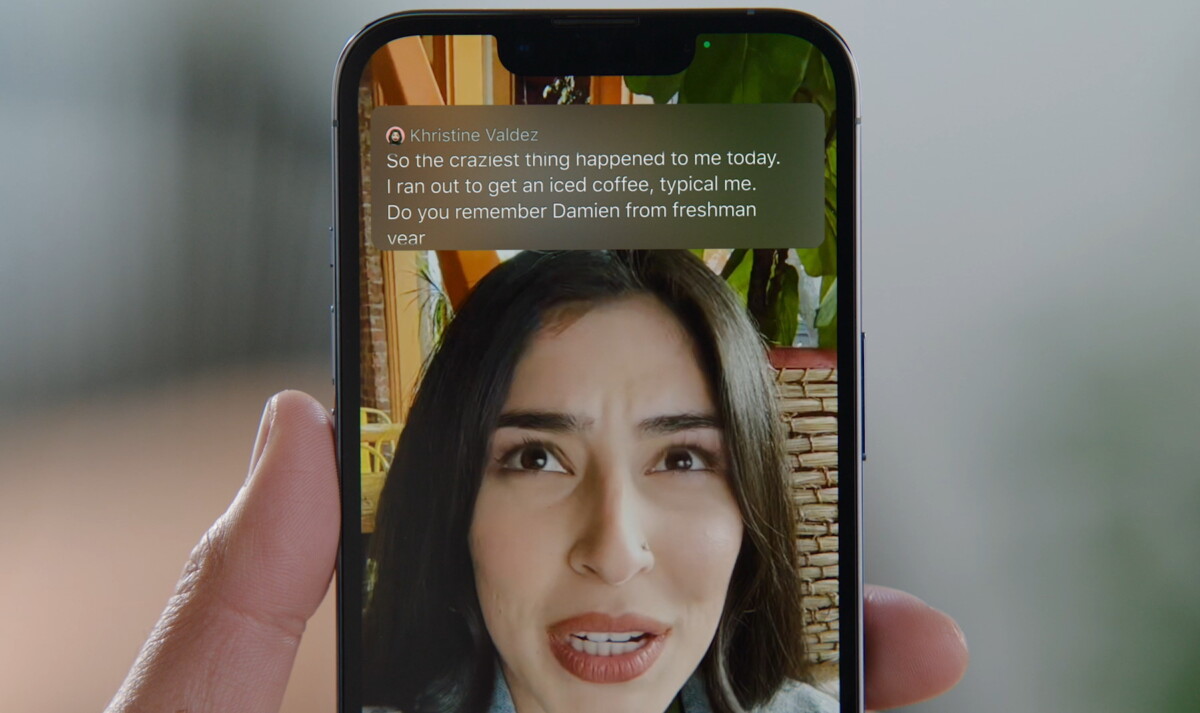
One such accessibility feature that Apple has introduced on the iPhone and iPad is the Live Captions. The feature, which is currently in the Beta stage, does what the name suggests. It offers a caption box on the screen of the device that transcribes the audio on the iPhone or iPad.
In this step-by-step guide, we will show you how to enable the Live Captions feature on your Apple iPhone running the latest iOS 16 operating system.

How to enable the Live Captions feature on Apple iPhone
Step 1: Open the Settings applications on your Apple iPhone.
Step 2: When the app opens, scroll down and tap on the “Accessibility” option.
Step 3: In there, scroll and tap on the “Hearing” option from the list.
Step 4: After that, tap “Live Captions (Beta) and then toggle the switch ON for the Live Captions under the System section.
That’s it. Once you have followed the above-mentioned step-by-step guide, the Live Captions feature will be enabled on your Apple iPhone. If you want, you can also enable the Live Captions feature for FaceTime and RTT.
When the feature is enabled, you will see a dialog box at the bottom, which is a Live Captions prompt, and whenever the device recognizes voices beginning to speak, including yours, it will start transcribing the content so you can read it. The dialog box can also be customized and has four buttons — Hide, Pause, Microphone, and Expand.

