The start menu is an iconic feature of the Windows operating system and even after so many versions, the company has still kept intact. Usually, when you click on the Start button, it opens a menu that covers just a part of the screen.
However, with the Windows 10 operating system, Microsoft has introduced a full-screen mode for the Start Menu, which is a refreshing change. As the name indicates, this mode covers the entire screen space when you click on the Start menu.
Microsoft is offering an option for users to choose whatever mode they like for the Start menu. In this step-by-step guide, we will show you how to enable the full-screen mode for the Start Menu on your Windows 10 computer.
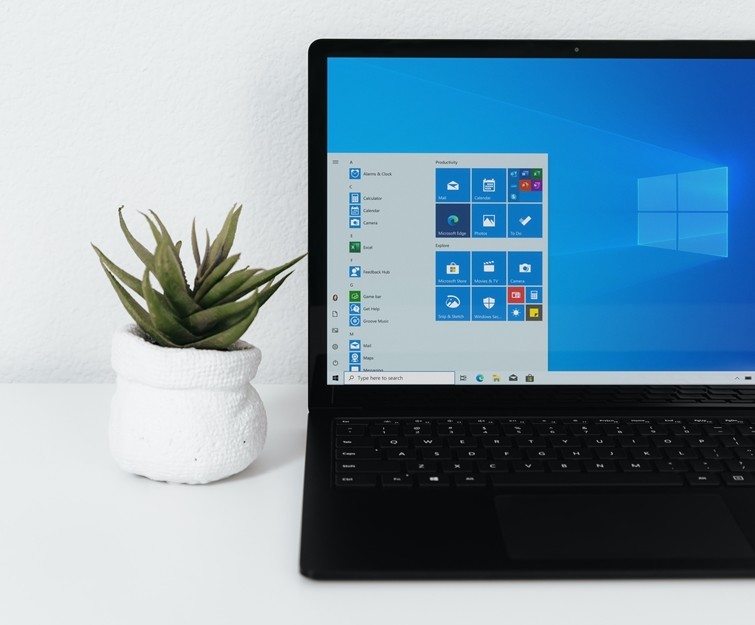
Enable Full-Screen Start Menu in Windows 10
Step 1: Open the “Settings” app on your computer. For this, click on the Start menu and then click on the gear icon on the left. Alternatively, you can also press the Windows + I keys on your keyboard.
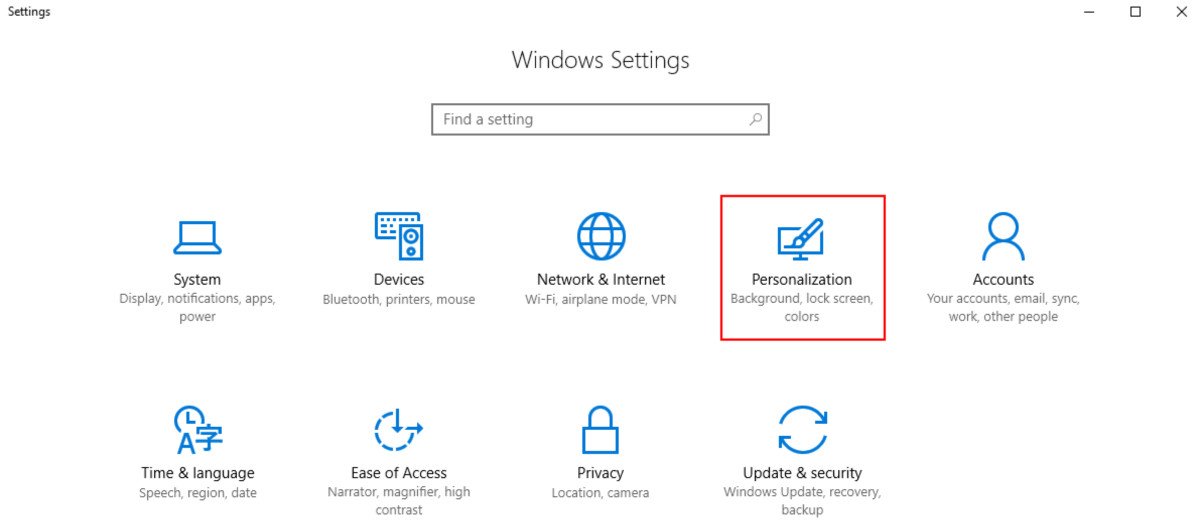
Step 2: In the Settings app, click on the “Personalization” option.
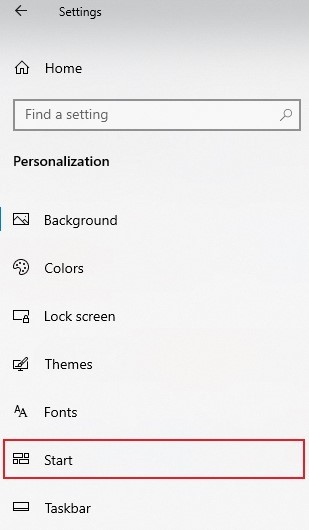
Step 3: Now, from the left-hand side menu, click on the “Start” settings.
Step 4: From the list of options, look for “Use Start Full Screen” and turn the toggle on for that feature.
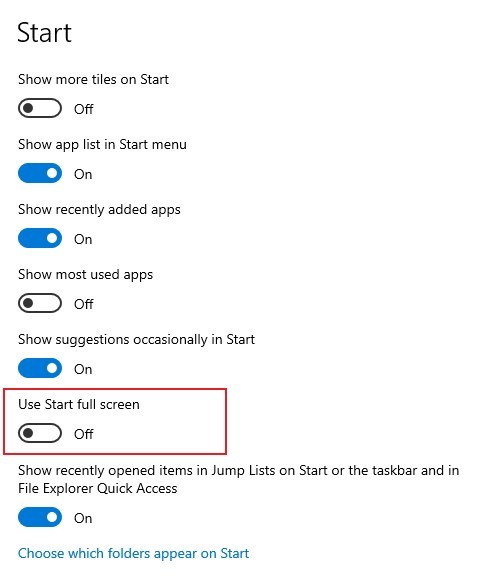
That’s it. Now, whenever you click on the Start button on your Windows 10 computer, the Start Menu will appear full-screen. Do note that whatever setting you keep for the full-screen Start menu, regardless of that, it will always open in full-screen if you are using Windows 10 in tablet mode.

