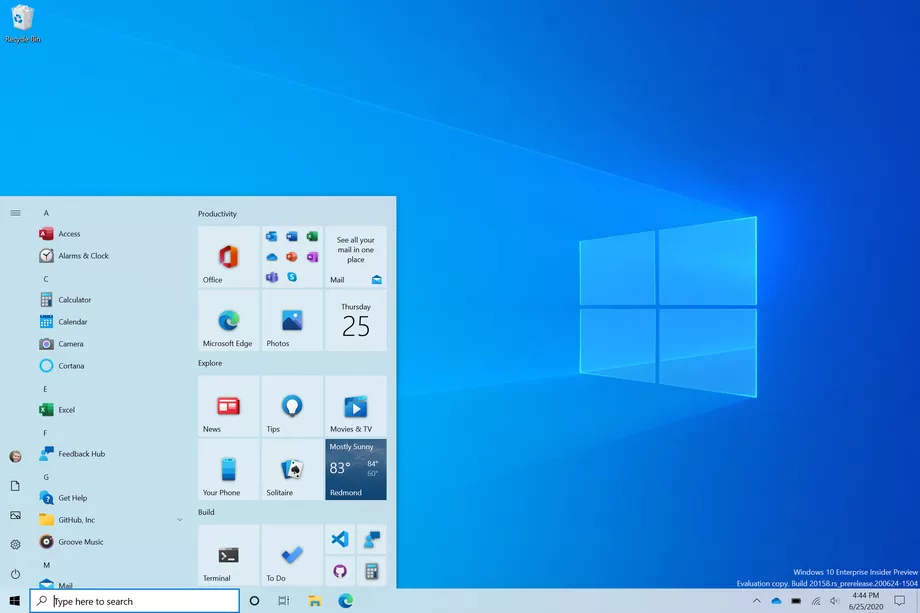
Windows 10 comes with a feature called Shake to Minimize. As the name itself suggests, the feature automatically minimizes the window when it is grabbed and shaken through the ribbon.
The feature was first introduced by Microsoft in Windows 7 operating system as “Aero Shake”. While the feature sounds interesting, many users don’t find it useful and some may not even be aware of it.
In this guide, we will show you a step-by-step procedure on how you can easily disable this Shake to Minimize feature on your Windows 10 computer.
Disable Shake to Minimize on Windows 10
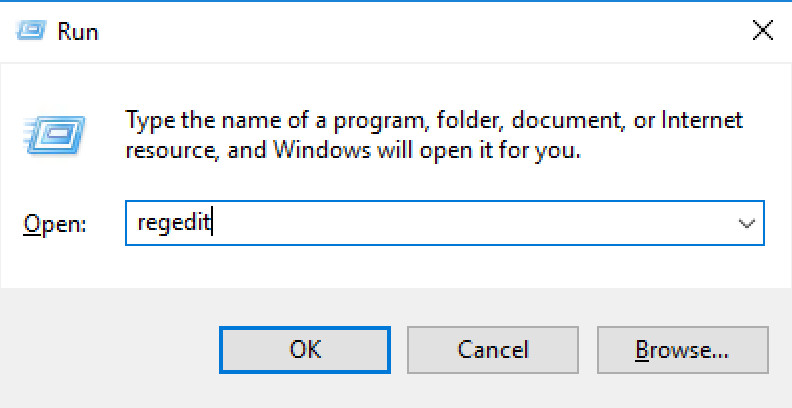
Step 1: First, you need to open the Registry Editor on your Windows 10 computer. For that, click the Windows + R key on your keyboard and in the Run dialog, enter the text “regedit”. This will open Registry Editor.

Step 2: In the Registry Editor, open or go to the following location:
Computer\HKEY_CURRENT_USER\Software\Microsoft\Windows\CurrentVersion\Explorer\Advanced
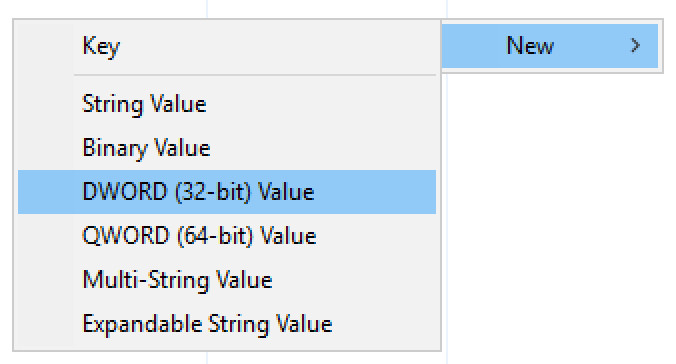
Step 3: Now, right-click on the empty space on the right-side pane and select the New > DWORD (32-bit) from the context menu.

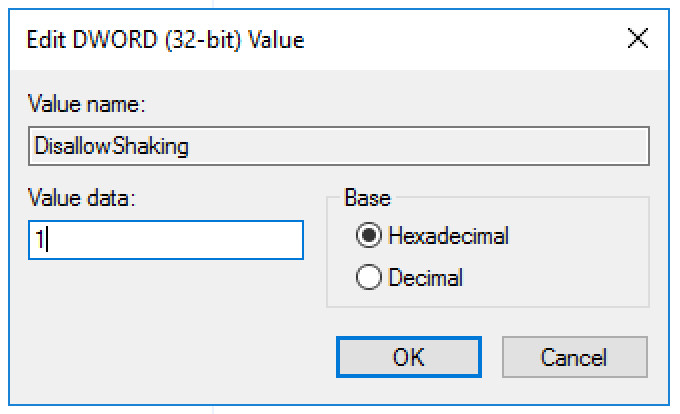
Step 4: Name the new entry as “DisallowShaking”. Now double-click on the same entry and change the value number in the “Value” box to “1” and click “OK”.

That’s it. The Shake to Minimize feature on your Windows 10 operating system has now been disabled.
You can also check out our other Windows guide to make your experience even better by customizing the operating system as per your needs. We have also covered quite a few guides related to macOS and Chromebook as well.

