By default, the Windows 10 operating system creates dump files and takes specific actions automatically during critical error. But the company allows users to customize this as per their preferences.
For those who are unaware, a dump file is a special type of file that is created automatically when the system experiences a Blue Screen of Death (BSoD) — commonly known as a “bug check,” “stop error,” or “system error” and then suddenly reboots or shuts down. The file contains information about the resources loaded in memory at the time of the crash.
In this guide, we will show you the step-by-step procedure of disabling the crash dump file creation in the Windows 10 operating system using the Settings application.
Disable crash dumps creation on Windows 10
Step 1: Open the Settings application on your Windows 10 computer. For this, search for the Settings app in the Start menu and select the application from the search results.
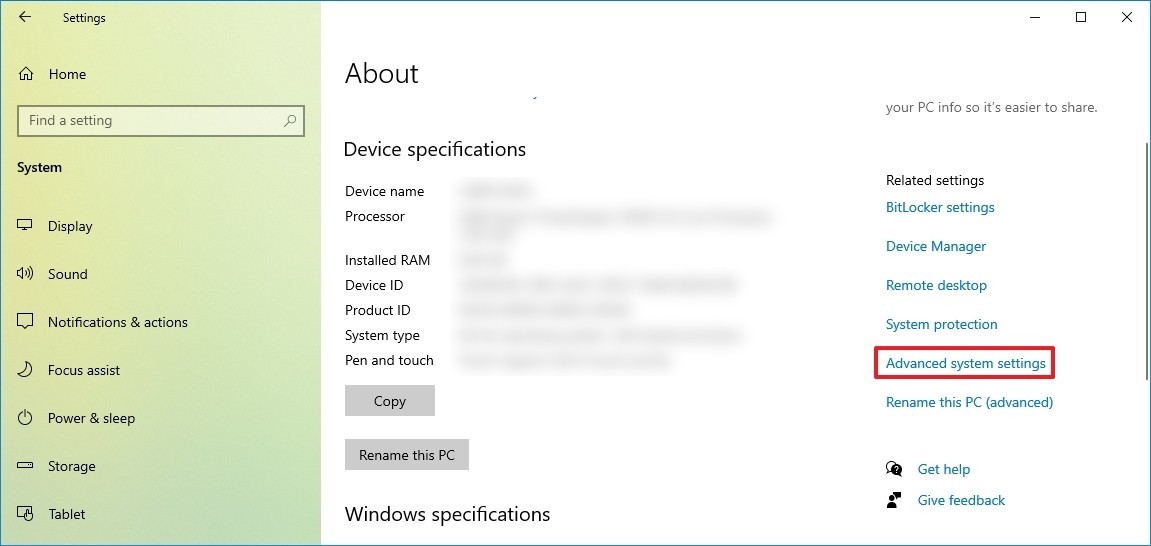
Step 2: In the Settings app, click on the “System” and then click on the “About” option.
Step 3: Now, under the “Related Settings” section, click on the “Advanced System Settings” option.

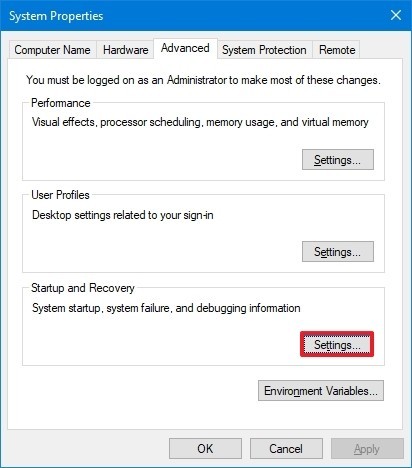
Step 4: In the System Properties window that opens, go to the “Advanced” tab and then click the “Settings” button under the “Startup and Recovery” section.

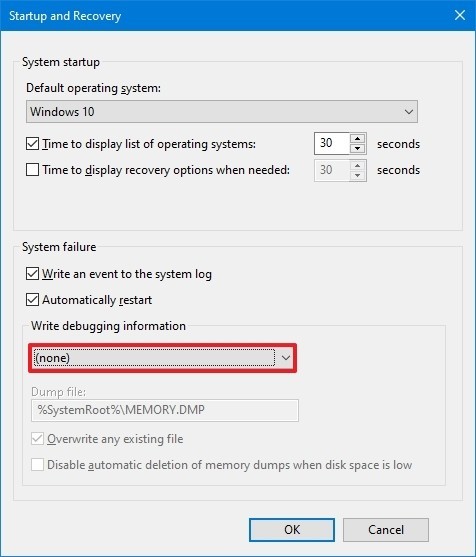
Step 5: Under the “Write debugging information” section, use the drop-down menu and select the “(none)” option.

That’s it. After you complete these steps, the system will no longer create error files. If you change your mind, you can always revert the settings.

