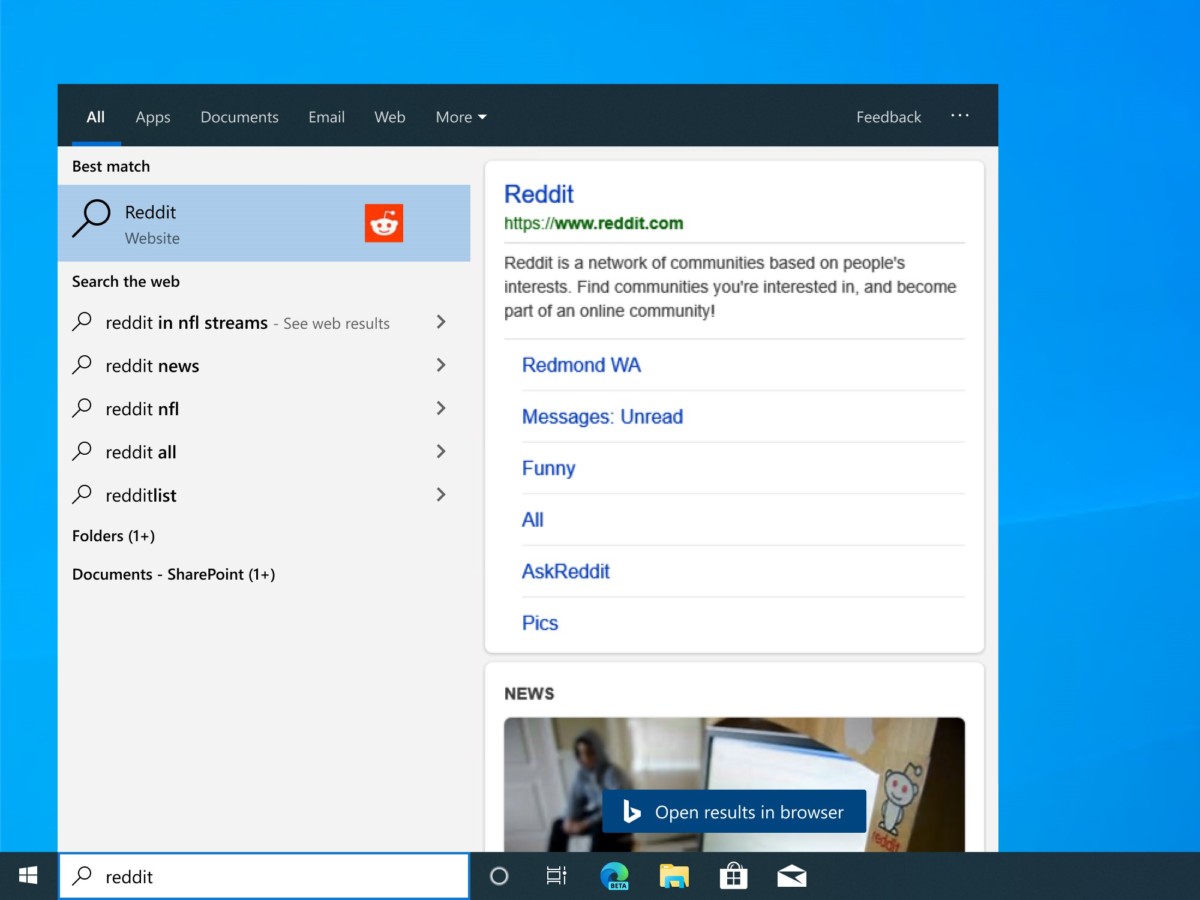
Windows 10 operating system comes with a built-in search feature which helps you locate local files. But when it fails to find any local files, the feature automatically searches for the term in the Bing search engine and shows you the result right there.
However, you may not want this feature on your device for any reason. So, here is a guide which will show you how to disable the Bing Search feature in the Start Menu of your laptop or PC.

There’s no easy way or a simple switch/toggle in the Settings to disable this feature. Instead, you will need to modify the Registry value to disable this feature. But don’t worry, we’ll show you the step-by-step guide to do so.
Disable Bing Search in Windows 10
- First of all, open the Windows Registry Editor. You can do so by pressing the Windows key + “R” key on the keyboard and entering “regedit” in the Run prompt and clicking enter or “OK” button.
- You’ll now see a UAC prompt asking if you wish to allow the Registry Editor to make changes to the system. Press the Yes button to continue.
- In the Registry Editor, navigate to the HKEY_CURRENT_USER\Software\Microsoft\Windows\CurrentVersion\Search key.
- Now, right-click on “Search” and select “New” and then “DWORD (32-bit) Value”.
- Type “BingSearchEnabled” (without inverted commas) and press Enter on the keyboard.
- A new value will be created that should automatically be set to 0. If not, double-click on BingSearchEnabled and set the value to 0.
- Now look under the Search key for a value named “CortanaConsent” and set its value to 0.
- If the CortanaConsent value does not exist, create it using the same steps as above and set it to 0.
- Close the Registry Editor and restart your computer.

