Windows 10 has an easy-access feature in the form of Start Menu, which makes it easy for the users to look for software installed on the computer and access them, as well as to go to most of the locations.
The Start Menu on Windows operating system has been getting some updates with an aim to make it easy for users. In Windows 10, when users search for something through the Start Menu, it also shows the result of Bing Search.
If you are annoyed by this feature or no longer want to get Bing Search results in the Start Menu, here is a step-by-step guide on how you can disable it on your computer.
Disable Bing Search in Start Menu on Windows 10
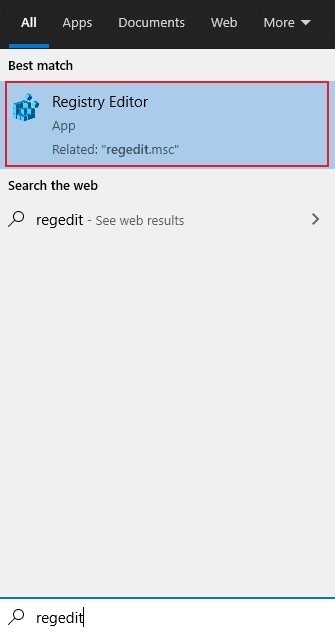
Step 1: First of all, open the Registry Editor on your computer. For this, search for “Regedit” and click on the app from the search results.

Step 2: Now, Navigate to the location mentioned below. You can also copy-paste the location in the Registry Editor’s address bar:
Computer\HKEY_CURRENT_USER\SOFTWARE\Policies\Microsoft\Windows\Explorer
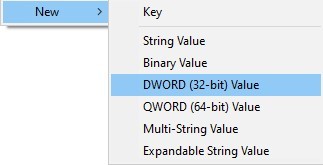
Step 3: Right-click in the empty space and from the context menu, hover the cursor on New and from the list, select “DWORD (32-bit) Value.”

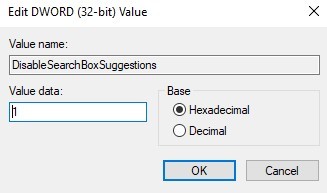
Step 4: Name the new value as “DisableSearchBoxSuggestions” and set the value data to “1.” After that, click on the “Ok” button.

For the changes to take effect, you will need to restart the Explorer or your computer. Once done, you will notice that the Bing search results won’t be visible when you search for something on your computer using the Start Menu.
