Microsoft’s Windows operating system, including the newly announced Windows 11, comes with support for Guest Accounts. This is quite useful if you want to share access to the computer with someone to have their own space and access their personal stuff.
While the process of creating a guest account was quite easy in Windows 7 and Windows 8, the company has now made the process a bit difficult and the user now needs to go through several more steps. But there’s a very simple and easy method for creating a guest account apart from using the Settings app.
In this step-by-step process, we will show you how to quickly create a new Guest Account on Windows 11 computer by using the Command Prompt.
How to create a guest account through Command Prompt in Windows 11
Step 1: Open the Command Promot application on your Windows 11 computer. For this, you can open the Start menu and search for the app. After that, from the search results, click on the application to open it.
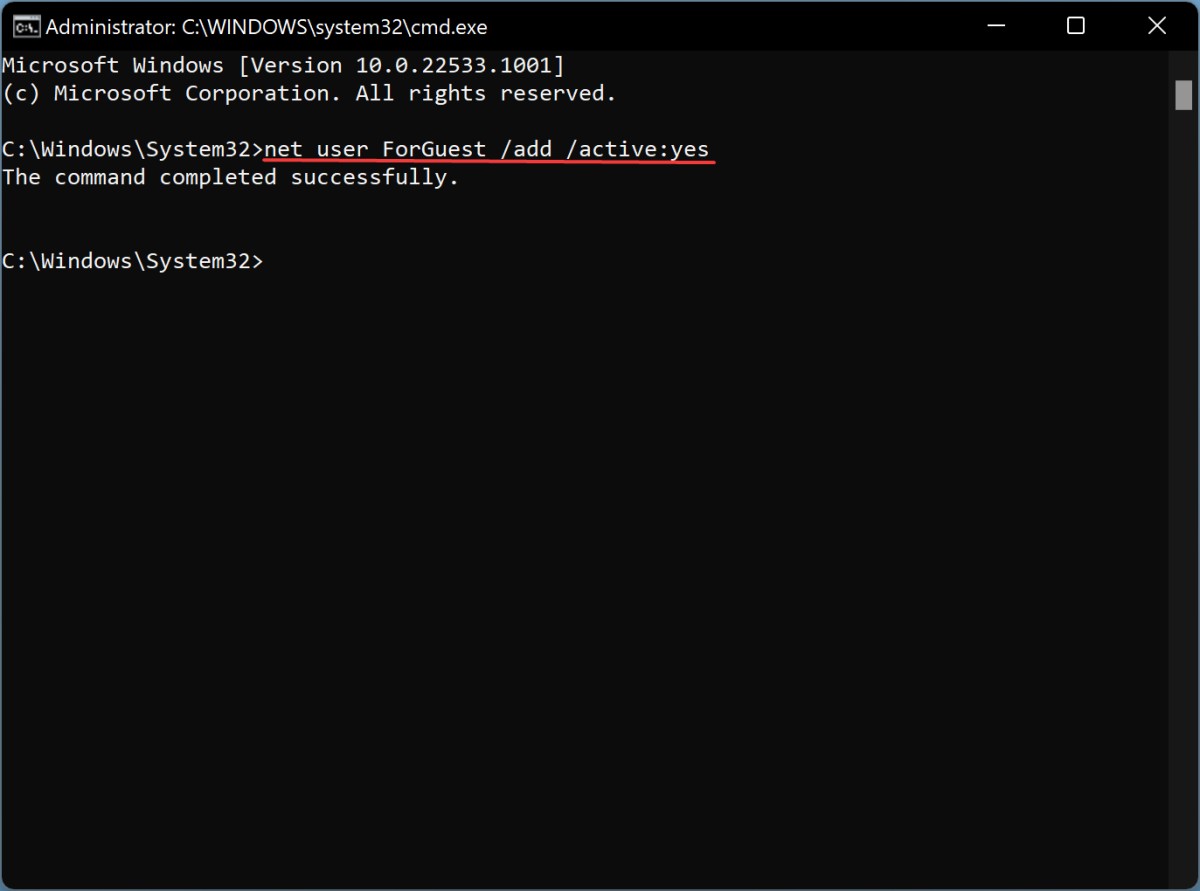
Step 2: When the Command Prompt window opens on your device, enter the following command:
net user ForGuest /add /active:yes

Make sure to change the name of the guest account from “ForGuest” to anything that you like. Once the command is executed, it will show a message that reads “The command completed successfully.”
That’s it. Entering the above-mentioned command will successfully create a new Guest Account on your Windows 11-powered computer. You can further configure the account by going to Settings > Accounts > Family & other users > Other users.

