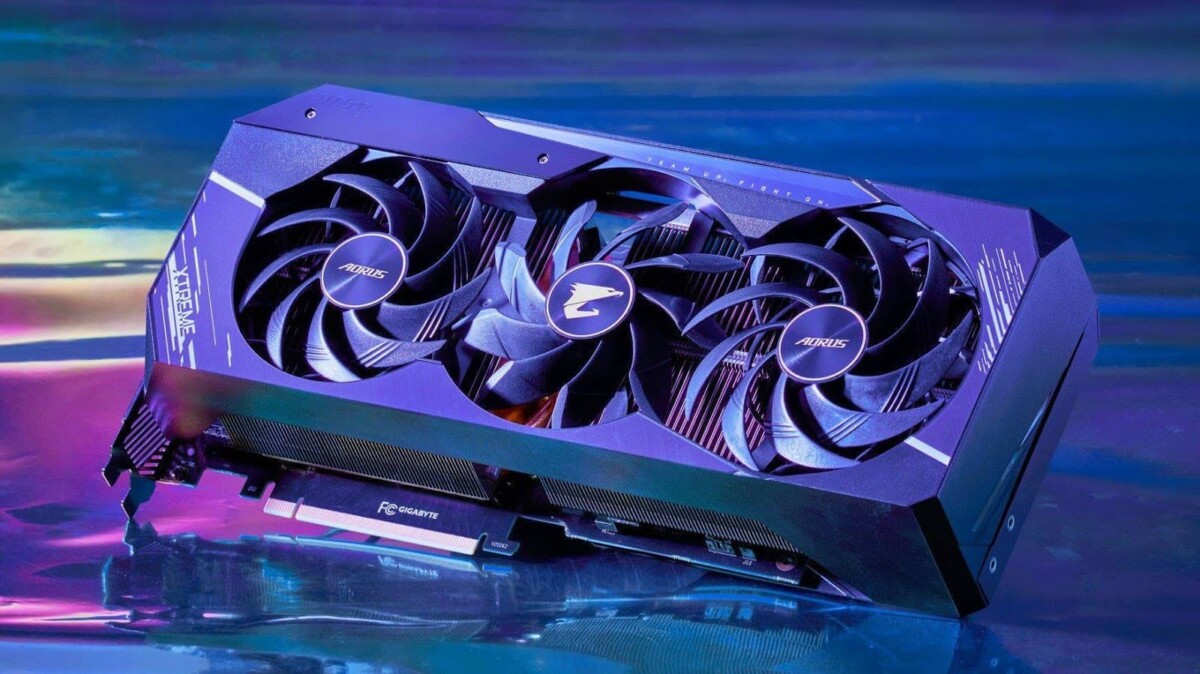
Computers have several crucial components in them, and one such component is the VRAM which stands for Video Random Access Memory and is a part of a discrete graphics card or GPU installed on your PC. It is responsible for loading and running graphics-intensive tasks.
On desktop computers, it is a modular component that can be swapped for another GPU, but on laptops, the component is soldered on the motherboard, meaning it cannot be changed. If you want to check some information about the VRAM on your device, then there are multiple ways to do that.
In this step-by-step guide, we will show you how to quickly and easily check some basic information about the VRAM, including available memory, usage data, and temperature on your computer through the built-in Task Manager application.

How to check VRAM usage in Windows 11 using Task Manager
Step 1: Open the Task Manager on your computer. For this, you can search the application in the Start Menu and select it from there or press the CTRL + SHIFT + ESC keys on the keyboard.
Step 2: When the app opens, click on the “Performance” tab from the sidebar.
Step 3: On the Performance tab, you will be able to see the GPU usage data.
You will find all the GPUs installed on your computer listed on the left side pane. For more than one GPU, they will be listed as GPU 0, GPU 1, and so on. Click on the GPU for which you want to check the memory and usage information, which will be displayed on the right-side pane.
Apart from the current usage of the graphics processors on your computer, it also shows information about the GPU temperature. There are also several third-party applications that will provide more details about the GPU, but if you just need basic information, then checking information through Task Manager is sufficient.

