If you have been using a Mac device, then that are chances that you may have never come across the Recovery mode or never needed to use it. As the name itself indicates, the Recovery mode on the Mac device is for recovering the system to a previous state or troubleshoot some issues.
The Recovery Mode is for advanced users which allows them to perform certain system-related tasks to ensure that the device runs without issues. In this guide, we will show you how to boot your Mac device into the Recovery mode and give brief information about what you can do in that mode and how to exit.

How to boot into Recovery Mode on Mac
Step 1: If your Mac device is already on, shut it down, or reboot the system.
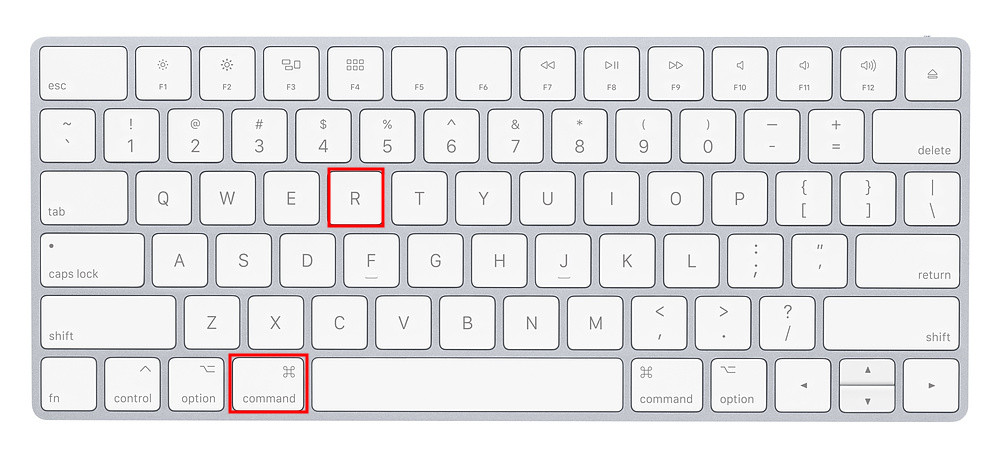
Step 2: As your Mac device starts booting up, press and hold the Command + R keys together on the keyboard.

Keep holding the keys until you see the Mac the Apple () logo on the screen. Once you see the logo, release the keys and the device will boot into Recovery mode.
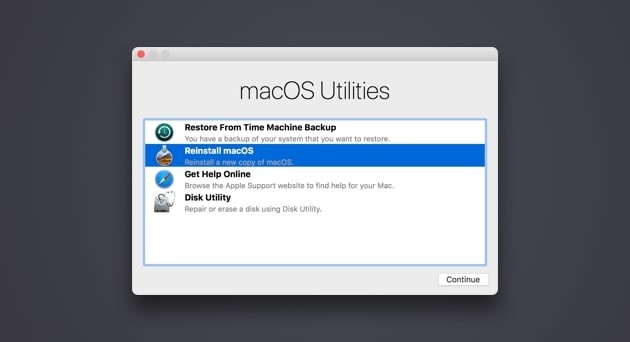
Step 3: If you see a screen with the “Utilities” window and several troubleshooting options, then you have successfully booted into the Recovery mode.
Do note that the Mac device doesn’t run the normal desktop environment as we see in the Windows operating system. Instead, you will be given a limited set of functions that are specific to the recovery mode.
When a Mac is booted into Recovery, the normal desktop and app experience is not available. Instead, you are provided with a limited set of options and choices specific to recovery mode.

Some of the functions that are available to you in the Recovery mode include Restore Mac from a Time Machine backup, Set firmware password, Disable System Integrity Protection, Fix a broken partition, among others.
To exit from the Recovery mode, just click the Apple icon on the top-left corner, and from the drop-down menu, click on the “Restart…” option. The system will now reboot normally and if you performed any actions in the Recovery mode, then those changes will also take effect.

