Apple’s iOS operating system for iPhone used to be a closed system but the company is now slowly opening it up. One of the major signs came with iOS 8, which introduced the ability to add third-party keyboards on your iPhone.
Prior to that, users had no choice but to use Apple’s built-in keyboard for everything — emails, text messages, etc. Even though the experience of using the Apple keyboard was great, Android users were getting an option to customize their keyboards and can also use third-party offerings. Apple finally gave in and offered alternative keyboards in the form of third-party apps.
In this guide, we will show you a step-by-step procedure on how you can add a new keyboard on the iPhone and how you can remove it.
Adding a new keyboard on iPhone
Step 1: Go to the App Store and find the keyboard app that you want.
Step 2: Once you find the keyboard, tap on “Get” and follow the on-screen prompts to install the key keyboard on your smartphone.
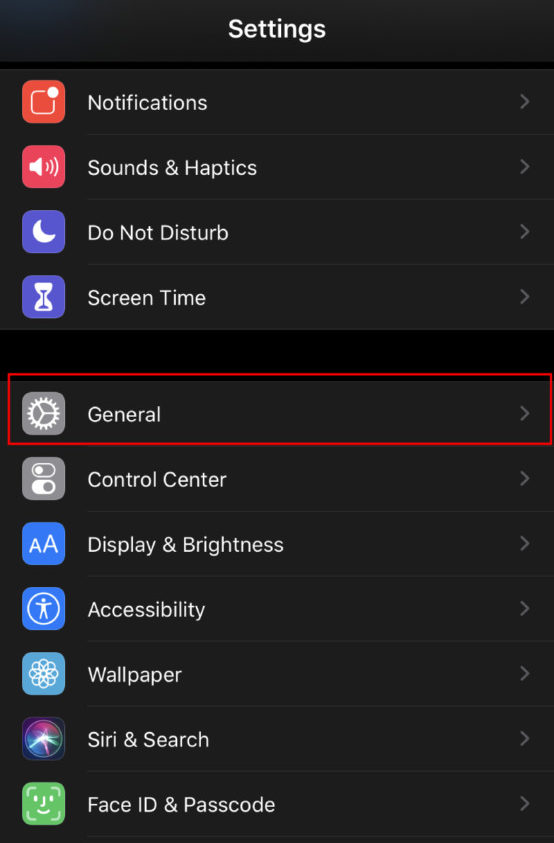
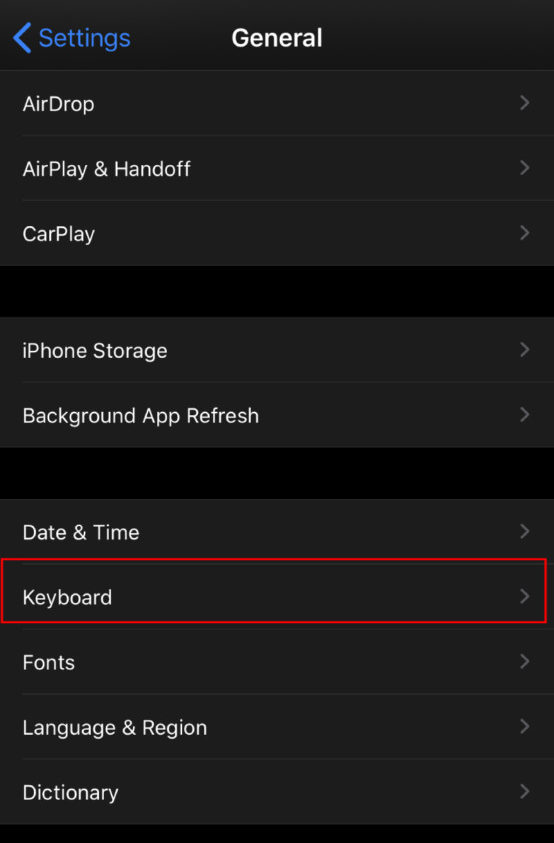
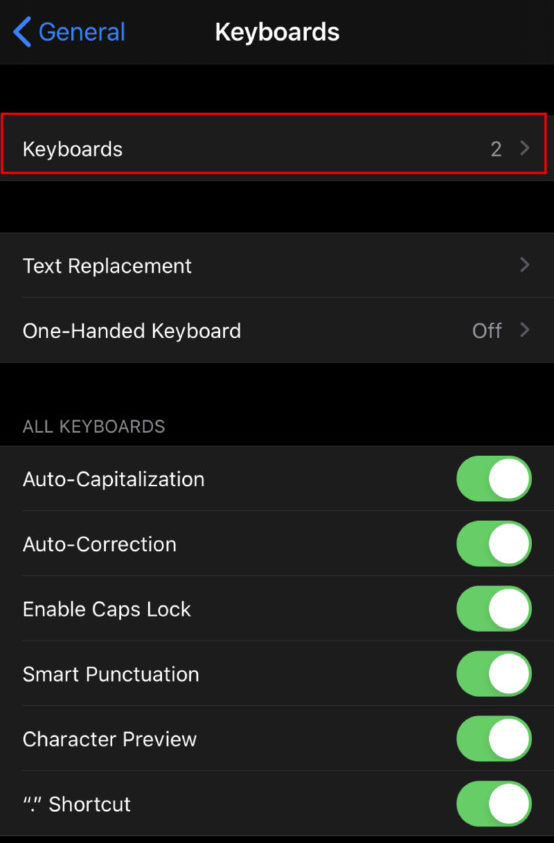
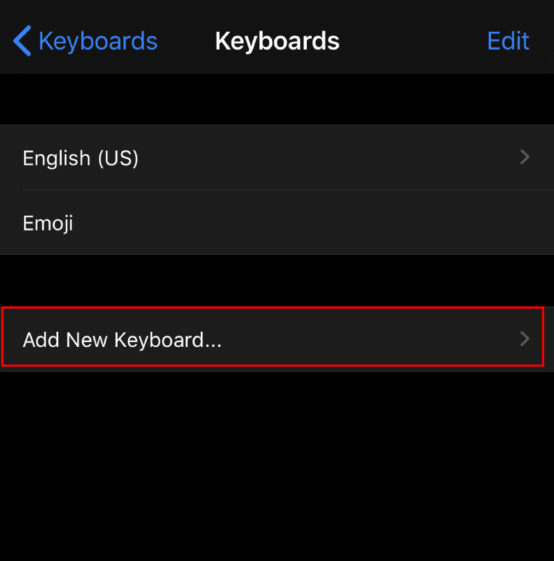
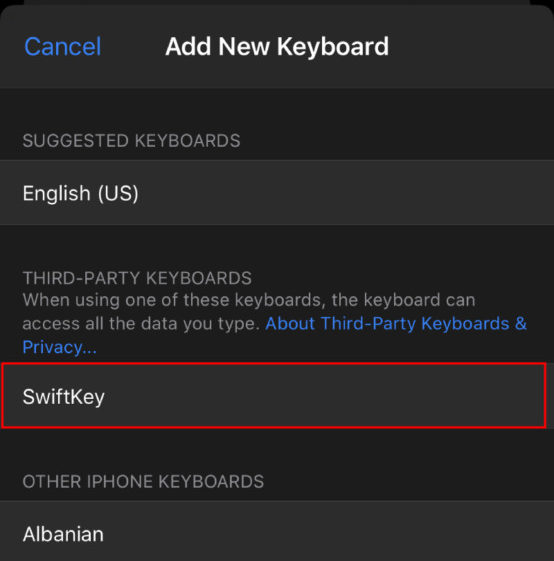
Step 3: After the installation process is done, go to Settings > General > Keyboard > Keyboards and tap on “Add a New Keyboard.”
Step 4: Now, select the keyboard application that you just installed.
Do note that you may need to set the keyboard to allow full access in order to use it.
Deleting a third-party keyboard
Step 1: Go to the Settings app on your iPhone.
Step 2: Tap on the “General” and then go to Keyboard > Keyboards.
Step 3: Now, tap on “Edit” and then tap the “-” button to remove the keyboard. After removing it, tap on “Done.”
Another way to delete the keyboard without going to the Settings is to just remove the keyboard application that you downloaded from the App Store. Once you remove the app, the keyboard will also automatically be removed from the Settings.

