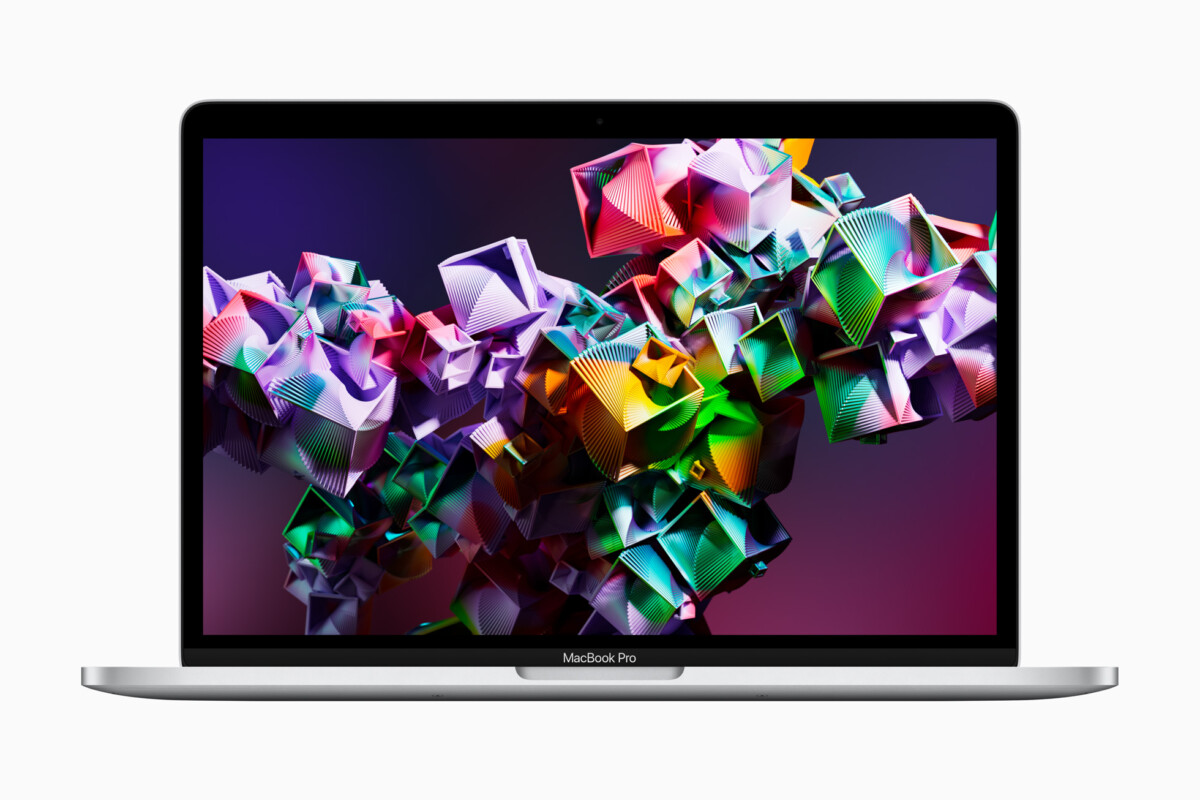
The newly announced macOS 13 Ventura for the Apple Mac devices comes with support for the Screen Saver feature which shows other content on the screen if the device remains inactive for a long time or for the time set by the user.
When the device is not active for some time, the screen saver will automatically replace the screen with an image or a live image along with some other information, like the current system time.
The purpose and the functionality of the screen saver on the macOS are similar to the Windows operating system from Microsoft. It basically is an additional layer on the display that comes up when the device is inactive for a set duration. You can also make it more secure by forcing the system to ask for a password after the screen saver sets in.
In this step-by-step guide, we will show you how to enable the Screen Saver feature on the Apple Mac devices running the newly announced macOS 13 Ventura operating system.

How to enable Screen Saver in Apple Mac devices running macOS 13 Ventura
Step 1: Open the System Settings application on your Apple Mac device. To do this, click on the Apple icon at the top-left corner and select the app from the drop-down menu.
Alternatively, you can also search and select the application from the Spotlight by pressing the Command + Spacebar keys.
Step 2: When the System Preferences app opens, click on the “Screen Saver” option from the left sidebar.
Step 3: After that, you will be able to make changes to the screensaver settings from the right-side pane.
That’s it. You will be able to select the type of screensaver that you want to enable for your Apple Mac device running the new macOS 13 Ventura operating system or you can select to randomly show screensavers. Along with that, you will also be able to make some other changes, like configuring the time duration after which the screensaver kicks in or showing the clock.
