Microsoft’s Windows 10 operating system comes pre-installed with Microsoft Defender Antivirus software that protects your computer from viruses, ransomware, spyware, rootkits, and other such attacks.
Although the service is meant for protection, sometimes it becomes a hindrance to a particular task even when it’s safe. There’s also a possibility that you are using another premium software for security and protection.
In such cases, you need to disable the built-in Microsoft Defender application on your computer. While you can do so through Settings, in this step-by-step guide, we will show how you can quickly disable the Defender app in Windows 10 operating system using Microsoft PowerShell.
Disable Windows Defender using PowerShell
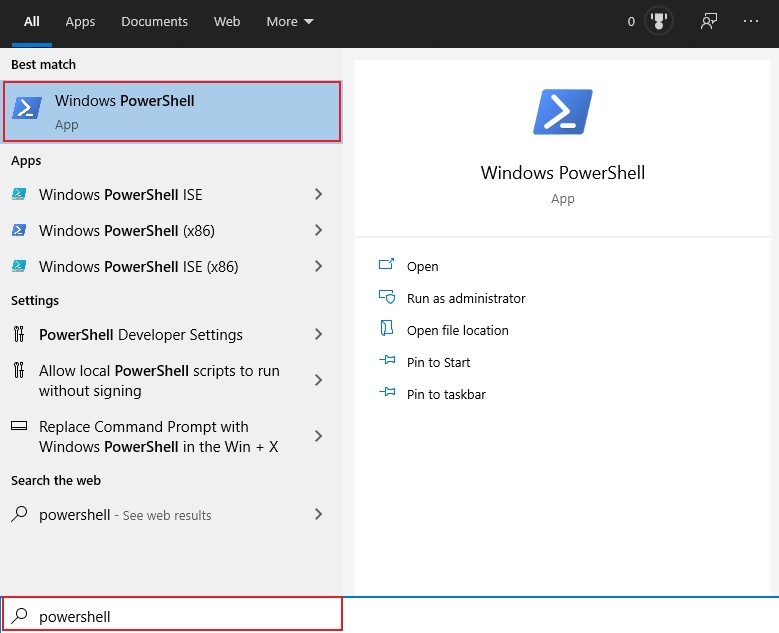
Step 1: First of all, open PowerShell on your computer. For this, open the Start menu and search for “PowerShell” and from the search results, right-click on the app and click on “Run as administrator” option.

Step 2: Now, in the PowerShell window, enter the following command:
Set-MpPreference -DisableRealtimeMonitoring $true
Once you run the command, the Windows Defender Anti-Virus protections service will be disabled on your Windows 10 computer.

However, if you want to enable the service on your device, open PowerShell on your computer and then enter the following command:
Set-MpPreference -DisableRealtimeMonitoring $false
There are several other advanced usages of PowerShell and managing your Windows 10 computer. We will be covering a few more guides on the usage of PowerShell to customization your system and make it better suitable to your needs.
