Having a backup file for our data becomes important because hard disk failures can happen anytime and In addition to this, your data can also get corrupted or deleted due to a virus. There are many ways to take a backup of your partition however most of them are complicated and the software which is used in them asks you for money or a paid subscription.
However, the Macrium Reflect 7 software solves that problem and allows you to take a backup for your hard disk partition for free. It creates an image file that can be used to restore the partition in case your data gets deleted. This software works on all versions of Windows including Windows 7, Windows XP, and the latest Windows 10. It is easy to use and in this guide, we will show you how you can master that App and backup data on your Windows PC. Without waiting further, let’s get started.

1) How to Download Macrium Reflect on Your Windows PC
Before you can start using the software you have to make sure that it is installed on your device properly. You might be aware of the basic installation process of the software however installing Macrium Reflect is quite tricky. Have a look at the steps below to see how it’s done.
Step 1: Head to the Macrium Reflect download page and tap on the Home Use download button.
Step 2: The page will ask you to enter your email just skip the step and click on the Continue button. The installer will get downloaded on your PC.
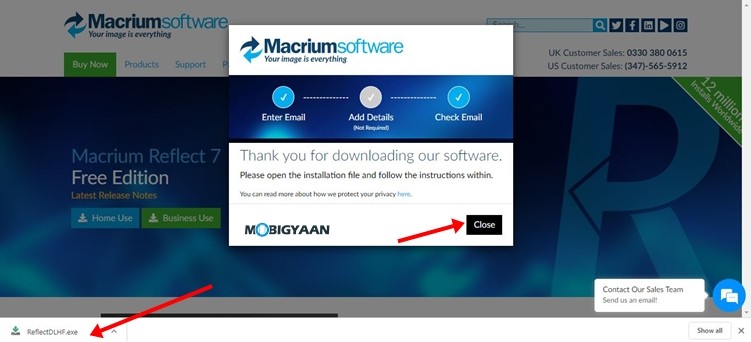
Step 3: Run the “ReflectDLHF.exe” file and click on download to get started with the installation process.
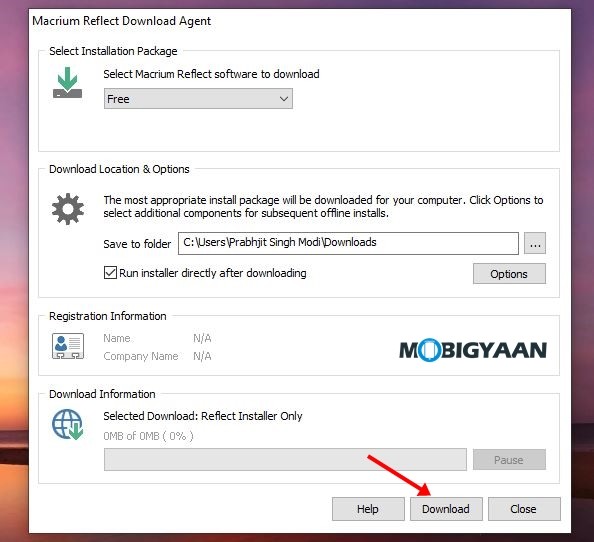
Step 4: Once the setup is downloaded, click next to start the installation process.
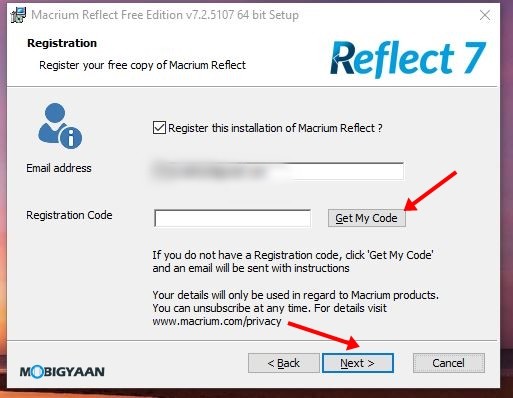
Step 5: Enter your Email address and click on “Get My Code” to get an email with the registration code. Enter the code you’ve received and hit next.
Step 6: When the software gets installed tick the “Launch Now” option and tap on the Finish button to run the software.
2) Create a Partition Backup using Macrium Reflect
Macrium Reflect allows you to backup your entire hard disk at once however you can also individually select the partitions that you want to backup. Have a look at the steps below to see how you can create a partition backup using Macrium Reflect.
Step 1: Run the software and select the partition for which you want to create a backup.
Step 2: Click on the “Image this disk” button and choose the location where you want to save the disk image.
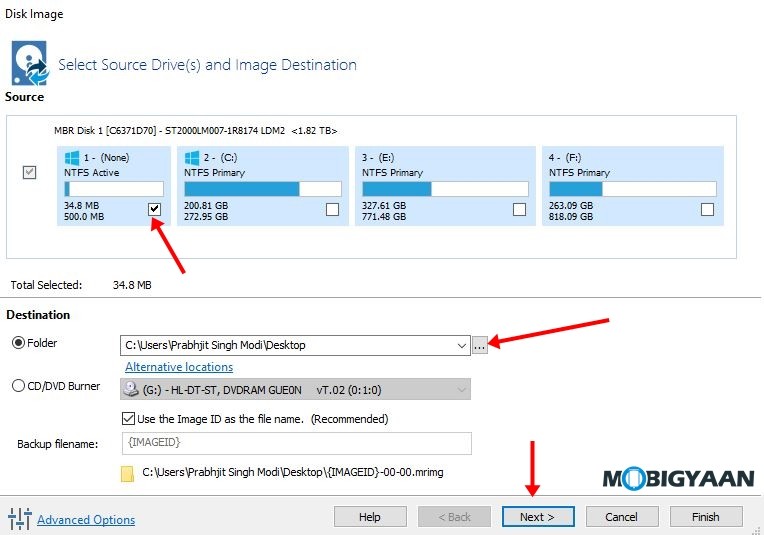
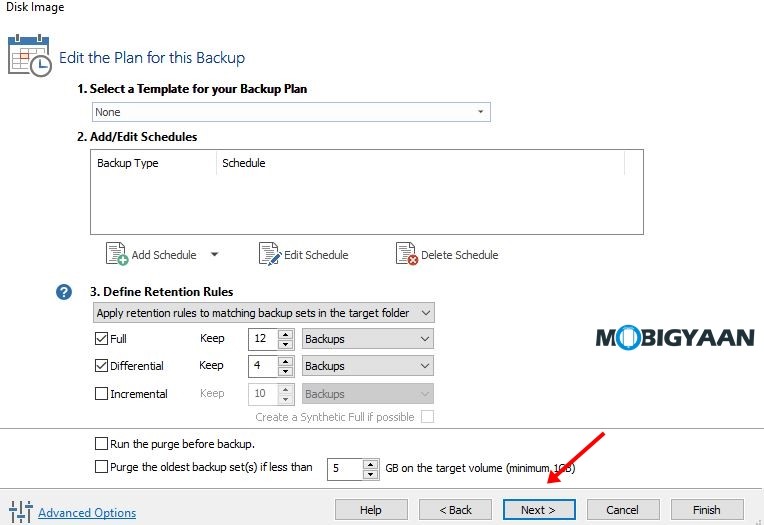
Step 3: On the Next page the software will ask you to choose from an automated backup plan. We’d recommend you skip this step and just press the next button however if you want to automated backups you can choose from a template or create your own schedule.
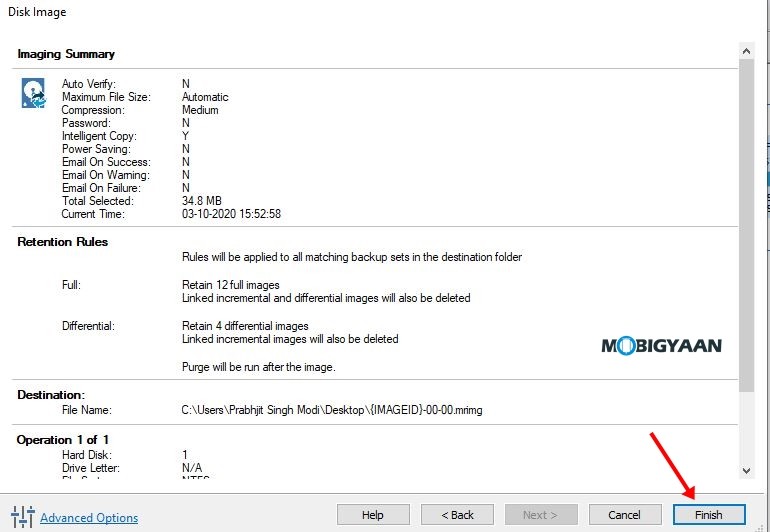
Step 4: On the next page, review the settings and tap on the finish button.
Step 5: Once the backup gets completed tap on Ok and close the software.
3) Restore Your Backup using Macrium Reflect
Now that you’ve created a backup it is important to know how you can restore that when you need it. Creating a backup takes up a lot of time and it’s a lengthy process however this isn’t the case with restoring. To restore a backup using Macrium Reflect all you have to do is:
- Run Macrium Reflect -> Go to the Restore Section from the Menu Bar -> Click on Browse for an image or a backup file to restore -> Select your backup file and click on open to begin the restoration process.
That’s all, folks! Want more tips and tricks like this? More awesome stuff can be found here – smartphones and apps tutorials, guides, tips, tricks, and hidden features. To get updates on the latest tech news, smartphones, and gadgets, follow us on our social media profiles.

