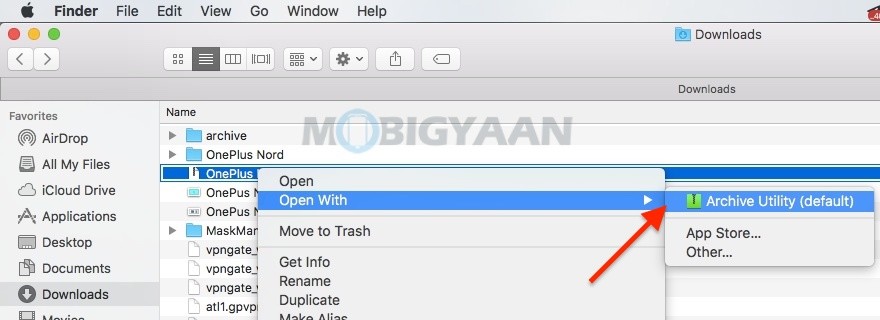
Your Mac comes with a built-in file compressor that lets you compress and uncompress files easily. You can convert the files and folders into a zip archive or unzip the files, here’s how.

Compressed files take up less disk space than uncompressed files, hence compressing is helpful if you are making backup copies of your data or for sending any files over the Internet.
Let’s say you have downloaded a zip file from an email attachment or copied zip files from a USB drive, you can unzip them easily and view the contents in the zip archive on your Mac.
You can also create a zip file of the photos and videos or documents or any other files that you want and send via email or any other medium.
How To Zip And Unzip Files On Mac
On your Mac, do any of the following to zip files.
- Launch the Finder and select the files that you want to compress or zip.
- Once selected, right-click on it or Control + Click to open the menu and choose the option Compress items.
If you compress a single item, the compressed file has the name of the original file with the .zip extension. If you compress multiple items at once, the compressed file will be named Archive.zip, you can see them in the Finder.
- To uncompress any compressed or zip files, all you need is double-click the .zip file or right-click or Control + Click and choose open with Archive Utility.


You can also compress or zip files on your iPhone or iPad easily. Check out more tips and tricks, guides, and tutorials related to Mac & Windows. For more updates on the latest smartphones and tech, follow us on our social media profiles.
